
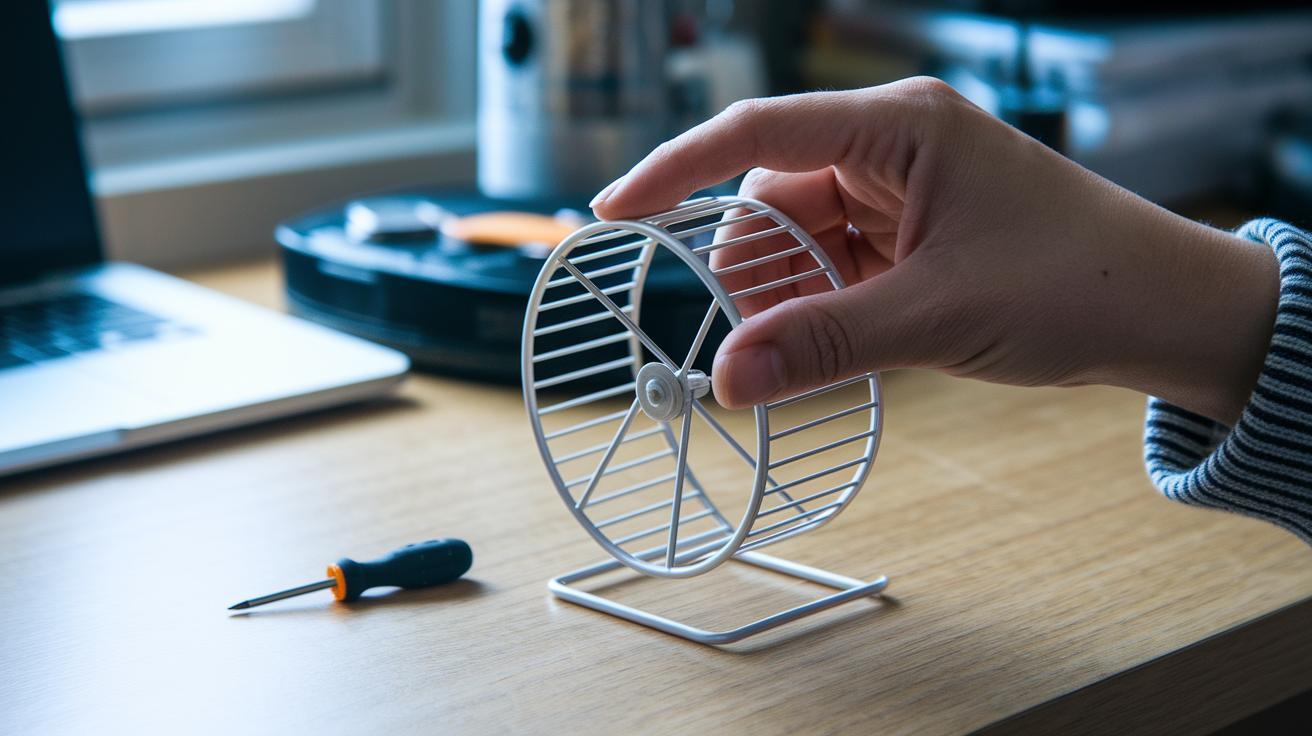

Ever wonder if your hamster’s wheel might need a little tune-up for a smoother, quieter run? A noisy wheel can make your pet uneasy and less playful. In this guide, we show you how to repair it using everyday tools from home. We explain how to clean away the dirt and replace a worn bearing. These quick fixes help your pet enjoy exercise time again and give you the confidence to handle small repairs around the house.
DIY Hamster Wheel Repair: Complete Step-by-Step Walkthrough
Start by placing your hamster wheel on a flat, clean surface. This keeps you safe and creates a calm space to work. Clear away any loose bedding or bits of debris.
Then, grab a Phillips screwdriver and carefully unscrew the wheel’s housing. Keep the screws in a little container so you know where each one goes later.
Next, gently take the wheel apart by separating the outer track from the middle hub. Look at the old bearing closely. Most mass-made wheels use rough bearings that can make noise and cause the wheel to spin unevenly. Use needle-nose pliers to remove the worn bearing. Fun fact: Did you know a hamster can travel up to 9 km in one night? Every small fix makes a difference for your little friend.
Now, check the axle and the bearing seat. Look for buildup like hair, dust, or dried bedding. A soft brush and a little mild dish soap work great for cleaning. Rinse the parts and dry them with a lint-free cloth.
Get your replacement bearing ready. Often, you can use one salvaged from an old hard disk drive. Make sure it fits the axle well. If it feels loose, try adjusting the mounting with a small hex key set.
Apply a touch of food-safe lubricant, such as silicone grease, to the axle and bearing surfaces. This makes sure the wheel spins quietly and smoothly.
Finally, reassemble the wheel by reversing the steps. Press the new bearing in its place, secure the hub, and tighten the screws. Give the wheel a few test spins. It should run quietly and smoothly before returning it to your hamster’s cage.
Essential Tools & Materials for DIY Hamster Wheel Repair
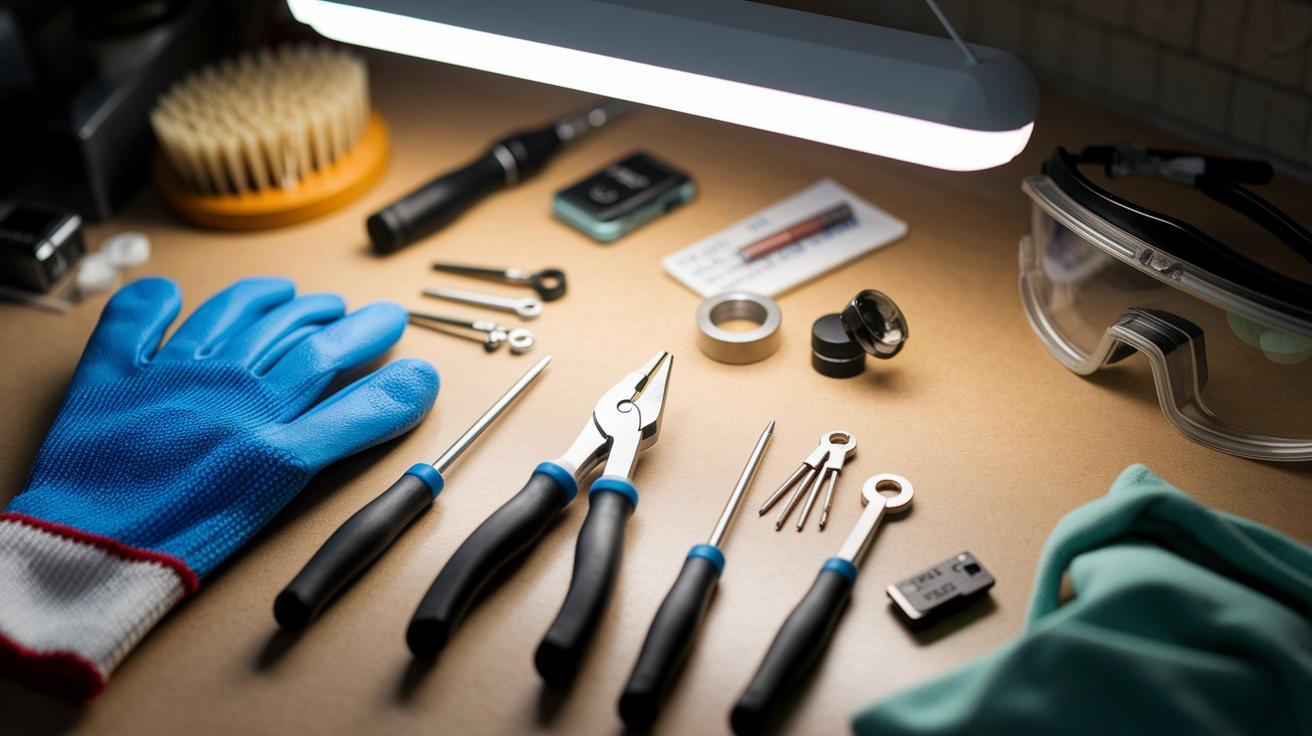
Before you begin your repair, make sure you have these handy tools and supplies:
- A Phillips screwdriver: to loosen and tighten screws.
- Needle-nose pliers: great for handling small parts.
- A small hex key set: for those tight spots around the axle.
- Food-safe lubricant (like silicone grease or PTFE spray): keeps plastic bearings spinning smoothly.
- Spare parts: use a smooth bearing from an old hard drive or pick up an affordable replacement.
- Cleaning supplies: a soft brush, mild dish soap, and a lint-free cloth to remove debris and dried bedding.
- Protective gear: gloves and goggles help keep you safe when pressing parts or cutting materials.
Start simple. Grab your Phillips screwdriver and pliers before taking apart the wheel. Then work through each repair step one at a time.
Troubleshooting Common Issues in DIY Hamster Wheel Repair
Let's start by checking for clear issues. A squeak might come from friction along the axle or a bearing that is worn out. For example, if you hear a steady squeak while the wheel spins, it may mean that the bearing isn't as smooth as it once was.
Next, take a close look at the wheel. Check if it wobbles or seems out of line. This could mean that the axle mounts are loose or that the track surface is uneven. A loose mount may tilt the wheel, and an uneven track can make the spin feel shaky.
Also, check for any dirt, dried bedding, or hair on the parts that move. These bits can clog the wheel and add extra strain over time. A soft brush and a bit of mild dish soap should help clean away the debris. After cleaning, wipe the area with a lint-free cloth to remove any moisture.
Make sure you also inspect the plastic track itself. Look for cracks or damage that might cause rattling noises or make the wheel move unevenly. Go over the entire wheel and replace any parts that look too worn.
Key areas to focus on:
- Squeaks from friction on the axle or worn bearings.
- Wobbling from loose axle mounts.
- Dirt or hair buildup slowing the spin.
- Cracked plastic tracks causing rattles.
By taking the time to check each area, you can help the wheel run smoothly and safely. This way, your pet enjoys a quiet, comfortable ride.
Advanced DIY Integration: Precision Tips for Hard Drive Bearing Upgrade

Start by taking an unused hard drive and removing the platters so you can get the bearing assembly. This is like finding a hidden treasure you can reuse for a precise upgrade.
Next, use a digital caliper (which measures to 0.01 accuracy) to check the sizes of the bearing bore and the axle shaft. If the sizes don’t match perfectly, a simple spacer or sleeve will help make them fit just right.
Before you install the new part, give the bearing a gentle clean. Brush off any dust with a soft brush and a drop of mild dish soap. Then, rinse it lightly and dry it with a lint-free cloth to keep everything neat.
Remove the old bearing from the wheel hub and press the new bearing in evenly. A hex key is great for applying steady, gentle pressure to secure it without fuss.
Finally, put the wheel back together, tighten the screws, and add a little food-safe lubricant where the bearing meets the axle. Spin the wheel to check that it turns smoothly and quietly.
Maintenance & Safety Tips for Lasting DIY Hamster Wheel Performance
Keeping your hamster wheel in good shape is key for your pet’s safety and fun. We suggest a monthly check to catch any small issues before they grow. This way, your little friend has a safe space to play and exercise.
First, take the wheel out of the cage and carefully take it apart. Wash every piece with a bit of mild dish soap, then dry them well with a lint-free cloth. Once dry, add a fresh layer of food-safe grease so the parts move smoothly.
Next, give the wheel a good look over. Check the axle for any leftover hair or bedding. Look for tiny cracks or breaks in the plastic parts and replace anything that seems damaged. Make sure the wheel mount is tight and free of sharp edges. Spin the wheel by hand to be sure it turns easily before you put it back.
- Inspect axle for debris.
- Check plastic track for cracks.
- Secure all mounts.
- Test spin manually.
Finally, boost your pet’s play area with about 10 inches of deep bedding, fun tunnels, and chew toys. A well-sized wheel lowers stress and keeps your hamster active and happy every day. Regular upkeep not only avoids expensive fixes but also gives your pet a safe, joyful exercise time.
Final Words
In the action, we walked through DIY hamster wheel repair, from basic fixes to advanced work like fitting a hard drive bearing. We covered key tools, detailed troubleshooting steps, and safe maintenance tips. Each repair choice not only improves your pet’s exercise experience but also adds quiet, smooth rotation. With these clear steps, you can keep your hamster active and happy while making a positive impact. Enjoy the repair process and celebrate the little wins that keep your pet healthy and your home a little kinder.
FAQ
How to make a hamster wheel at home?
Creating a hamster wheel at home involves repurposing household items like cardboard and safe plastic. You simply cut and shape the material, secure a smooth bearing inside, and test for a quiet, safe spin.
What are common hamster wheel problems?
Common hamster wheel problems include squeaking from worn bearings, uneven spinning due to misalignment, and wobbling from loose parts. Regular cleaning and reapplying food-safe lubricant can help fix these issues.
How to repair alloy wheels DIY?
Repairing alloy wheels is different from hamster wheels. This process typically involves metal filling, sanding, and painting. Our guide specifically covers DIY hamster wheel repairs for pet exercise safety.
What can I put on my hamster wheel to make it stop squeaking?
To stop squeaking, apply food-safe silicone grease or PTFE spray to the wheel bearing and axle. This reduces friction, quiets the spin, and helps your pet enjoy a smoother run.