
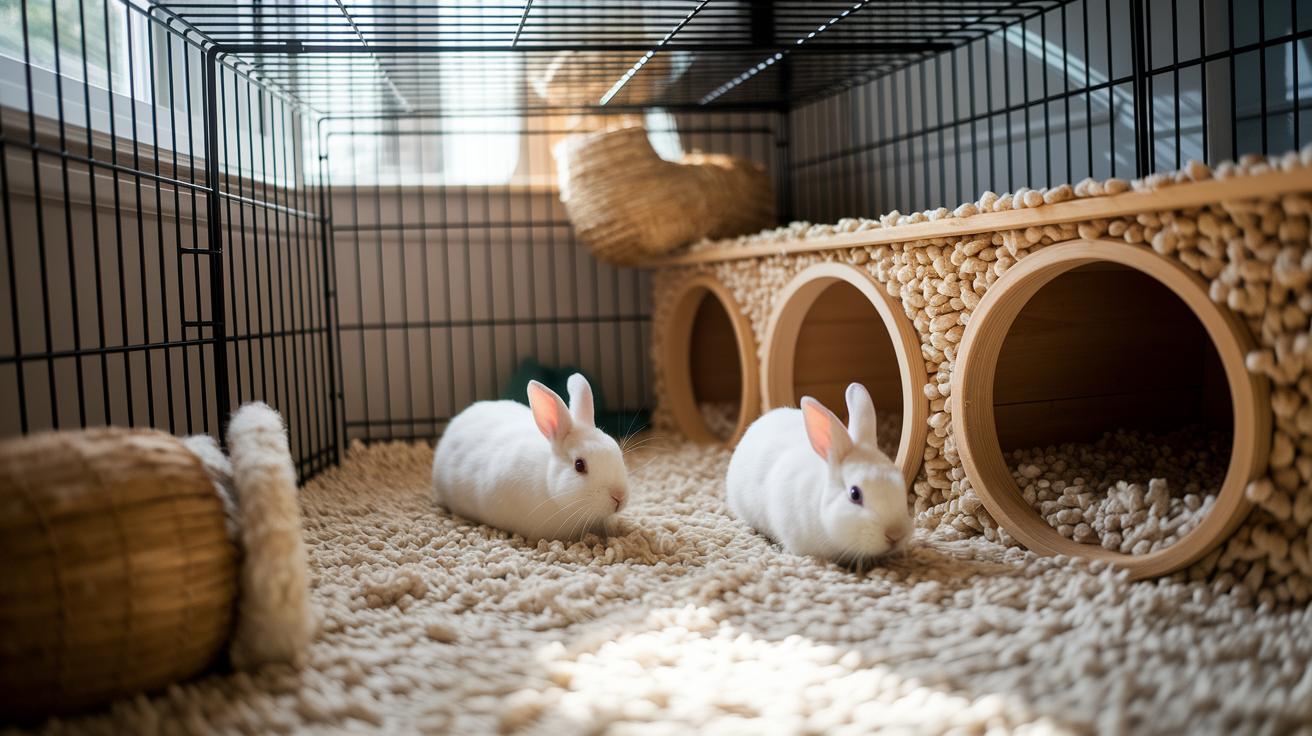

Have you ever thought your bunny might need a home upgrade? Many pet parents choose store-bought cages, but a DIY rabbit hutch can really change the game. In this guide, we show you how to build a multi-level home that is sturdy, safe, and fun for your furry friend. We explain how to pick the right wood and mesh, add secure features, and finish it off so your bunny has a cozy space to roam. Your pet will love this custom build that gives them plenty of room to explore.
Building a Multi-Level Rabbit Hutch: Step-by-Step Guide
Framing
First, pick your lumber. You can either use three 8-ft 2x4s that you split into 2x2s to save cash or go with six 8-ft 2x2s straight away. Cut the top and bottom pieces into two pieces of 30.5 inches and two pieces of 27.25 inches. For the sides, cut four rails to 70.25 inches and drill small pilot holes at each end to help with the screws. Adding side braces keeps the hutch square and sturdy. You can even mount swivel casters underneath to move the hutch easily and improve airflow.
Tip: Measure twice, cut once. It really saves time.
Mesh & Flooring Installation
Now it’s time to add the mesh. Use 14-gauge 1×2 wire and cut panels for the walls and roof so your bunny gets a safe, breezy space. For the floor, choose a tighter mesh to protect those little feet from sharp edges. Secure the mesh with battens or U-nails along the edges so it stays in place. Then, place a scrap-wood spacer about 4.25 inches thick under the cages. This gap makes the hutch safe and makes cleaning a breeze.
Remember: Always double-check your measurements before cutting the wire to avoid wasting material and time.
Finishing Touches
Finally, add the details that make the hutch both practical and fun. Install spring-loaded door latches to keep your rabbit secure while allowing quick access. Fit automatic waterers and feed cups so your pet always has what it needs. Consider adding insulation or chew-safe finishes for extra protection. Modular stacking brackets let you expand the hutch later if you decide to build a bigger version. For example, a built-in cleaning tray makes routine maintenance simple.
Remember: A well-finished hutch is more than just a structure, it’s a safe, cozy home for your furry friend.
Selecting Materials for DIY Rabbit Cages
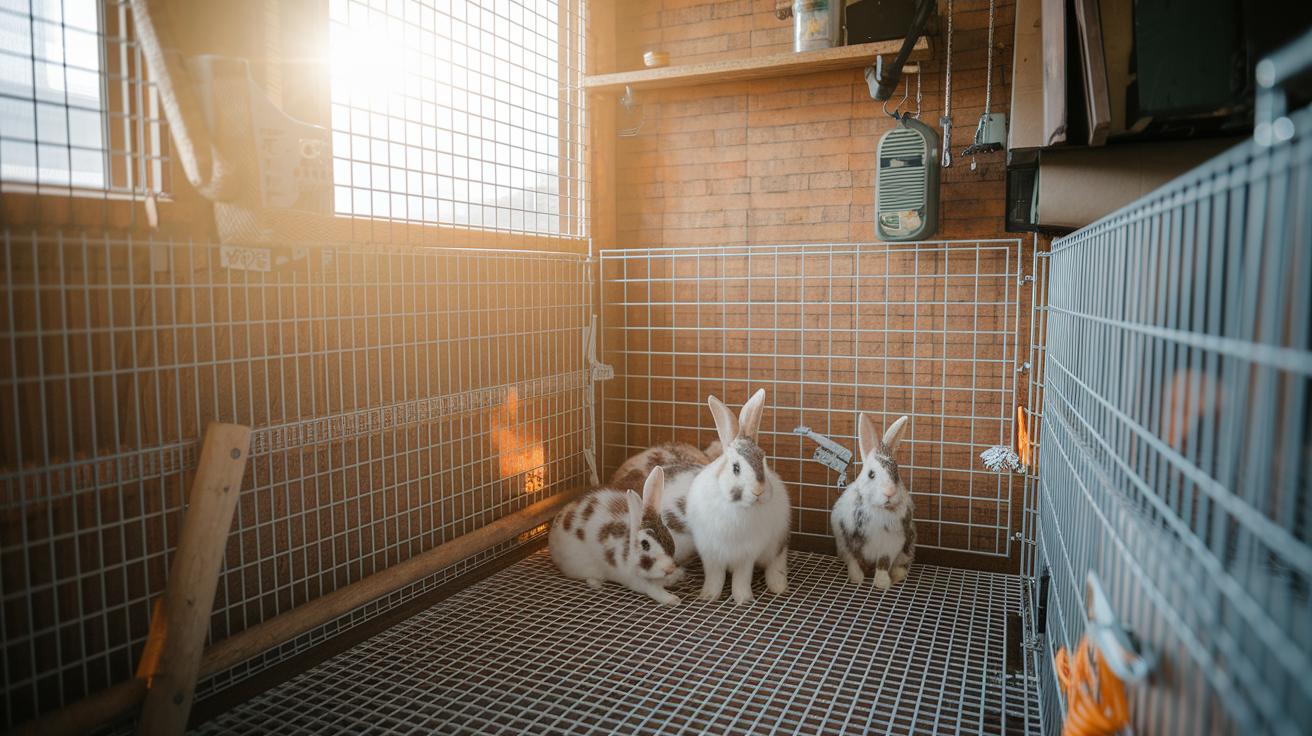
If you're planning to build a rabbit cage, here are some extra ideas to help make a safe and comfy home for your bunny. We already talked about lumber, wire, mesh, and finishes, but these extra tips can really boost your design:
- Pick smooth, sturdy 2×4 or 2×2 lumber.
- Use 14-gauge woven 1×2 wire for the sides and roof. It sets up stronger than 16-gauge wire.
- For the floor, choose a tighter mesh. This small-gap mesh supports your bunny like a firm, cozy blanket.
- Give all metal parts a galvanized finish to help them resist rust.
- Insulate the cage if temperatures go below 50°F or above 69°F.
- Use pet-safe fasteners and design panels that come off easily. This makes cleaning a breeze.
These extra tips help you create a durable, safe, and easy-to-clean cage that your bunny will love.
Budget-Friendly DIY Rabbit Cage Plans & Cost Breakdown
When planning your DIY rabbit cage, it's smart to look for ways to save money without cutting corners on safety. We suggest keeping the main build cost under $150 for fresh lumber and mesh and then using recycled items for extra features. One builder even found used items to trim expenses on extras, proving that creativity really pays off.
Here are some easy ideas:
- Upcycle pallets to build feeding stations or side walls. This trick can lower material costs by about 30% compared to buying new boards.
- Hunt for salvaged boards that let you add unique touches without overspending.
- Check out local salvage yards for used hardware like screws and casters to save even more.
| Item | Approximate Cost |
|---|---|
| Lumber & Mesh | Under $150 |
| Hardware & Casters | $20 – $30 |
| Upcycled/Recycled Materials | Varies by source |
diy rabbit cages: Elevate Your Rabbit's World

Give your bunny a safe outdoor home by building stackable cages. Use treated wood or tough outdoor plywood to create a shelter that stands up to rain and shine. A sloped roof helps water run off quickly, much like a gentle stream after a rain.
Plan for drainage by adding small channels under the cleaning trays. A groove along the base guides rainwater away, keeping your rabbit’s space dry and clean.
Keep your bunny comfy with insulation panels on the walls and roof. These panels help maintain a steady temperature between 50 and 69°F and soften outside noise, so your pet feels at ease.
Make cleaning a breeze by including hinged access panels. They let you easily open the shelter for quick bedding updates or a fast cleanout.
Think ahead and design with extra space in mind. Modular stacking lets you expand the setup as your bunny family grows, keeping the design both practical and charming.
Indoor DIY Rabbit Cages & Playpen Ideas
Looking for a cozy setup that keeps your home neat and your bunny happy? You can build a small, clever space using light materials like thin, sturdy wood or recycled plastic. Create a multi-level shelter by stacking cages and playpens. This way, your rabbit gets areas to play and rest. Removable ramps and platforms let your little friend hop between levels like a fun playground.
Mounting the unit on wheels (casters) protects your floors and makes cleaning a snap. You can easily move the enclosure if you need to tidy up or change your room layout. Use finishes that are safe for chewing, so your bunny stays safe from nibbling hazards. A fold-away panel system can hide the playpen when it's not in use, keeping your decor looking neat.
Here are some ideas to consider:
- Compact designs that use vertical space well.
- Multi-level spaces with easy-to-use ramps.
- Lightweight materials that are simple to move around.
- Casters for quick shifts and cleans.
- Chew-safe finishes for added durability.
- Fold-away panels for a sleek, hidden look.
Planning a layered, modular space gives your bunny plenty of room to explore while keeping your home stylish and organized. This approach adds fun and exercise to your pet's day and helps your living area feel warm and intentional for both of you.
Maintenance & Safety Tips for DIY Rabbit Cages
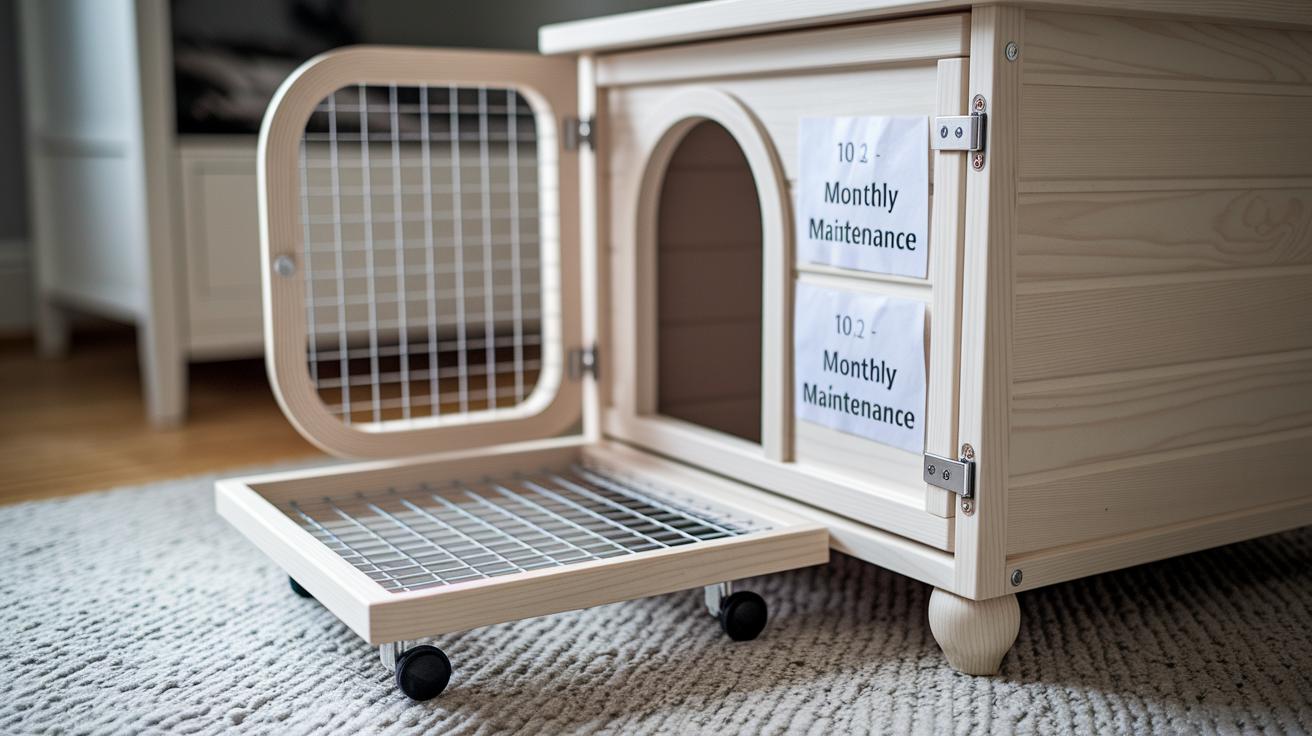
Keeping your bunny's home safe and clean is simple with a few smart updates. Try using pull-out trays or wheels (casters) so you can do a deep clean every week. This makes it easy to reach every corner without disturbing your furry friend. It really makes a difference, your hutch will feel fresh in no time.
Next, check any cut edges. Round and smooth them out so there are no sharp spots that could hurt your bunny. A bit of extra sanding goes a long way and keeps your pet comfortable.
Also, keep an eye on the cage wire. Make sure it stays rust-free to protect your bunny and keep the cage lasting longer. Every month, give the door latch a gentle tug to check if it is solid. If it feels loose, it might be time to tighten or replace it.
You might also add automatic waterers and feed cups. This way, your pet always has fresh water and food nearby.
When cold weather sets in, pull on an insulating cover to help keep the hutch cozy. And to stop any unwanted visitors like rodents, add hardware cloth around weak spots.
- Use pull-out trays or wheels for easier cleaning.
- Smooth out all edges to avoid injury.
- Check the cage wire often for rust.
- Test door latches each month.
- Use insulating covers in winter.
- Secure vulnerable spots with hardware cloth.
Final Words
In the action of building your multi-level rabbit hutch, you learned how to plan framing, install mesh and flooring, and add those finishing touches confidently. You discovered how to choose safe, strong materials while keeping costs low through smart hacks and recycled parts. Whether designing for indoors, outdoors, or even light modifications on diy rabbit cages, every step supports pet care and meaningful rescue work. Keep embracing these creative projects and enjoy creating a safe, happy space for your furry friend.
FAQ
DIY rabbit cages indoor
The DIY indoor rabbit cage design offers a compact, safe space using pet-friendly materials. It often features removable platforms, chew-safe finishes, and casters to protect floors while keeping your bunny active and comfortable.
DIY rabbit cages outdoor
The DIY outdoor rabbit cage design uses weatherproof materials like treated lumber and galvanized wire mesh. It provides proper insulation and drainage to keep your rabbits safe and comfortable in any weather.
DIY rabbit cages plans
The DIY rabbit cage plans include clear steps for precise cuts, secure framing, and proper mesh installation. They ensure your hutch is sturdy, safe, and budget-friendly for your pet’s needs.
DIY rabbit cages PVC
The DIY rabbit cage with PVC utilizes lightweight, durable PVC pipes to form a secure frame. This design is easy to clean, cost-effective, and works well for both indoor and outdoor rabbit enclosures.
DIY rabbit cage indoor cheap
The affordable DIY indoor rabbit cage design relies on budget-friendly materials like scrap wood and recycled mesh. It creates a safe, compact space that still offers room for exercise and easy cleaning.
Rabbit cage wire roll
The rabbit cage wire roll means using a full-length roll of wire mesh to cover the cage. It ensures full coverage, proper airflow, and a secure, rust-resistant enclosure for your pet.
Wire rabbit cages outdoor
The outdoor wire rabbit cage design uses sturdy, galvanized mesh for durability and weather resistance. It provides adequate ventilation and a secure barrier to keep your rabbits protected outdoors.
How to build rabbit cages for breeding
Building rabbit cages for breeding means designing enclosures with easy separation, quick cleaning, and ample room. Removable trays and adjustable compartments help support breeding needs while keeping rabbits comfortable.
What is the 3 hop rule for rabbits?
The 3 hop rule for rabbits means the cage should be at least three times the length of a rabbit’s hop. This ensures enough space for movement, promoting exercise and overall health.
What can I use as a rabbit cage?
You can use wood, wire mesh, or PVC pipes to build a rabbit cage. The key is a safe, secure enclosure that offers good ventilation and enough room for your bunny to move around.
Is it cheaper to build or buy a rabbit hutch?
Building a rabbit hutch is often cheaper than buying one. DIY projects let you customize features and save money by using upcycled materials while ensuring your pet’s safety.
How cold is too cold for rabbits in the hutch?
For rabbits, a hutch should not drop below 50°F. Proper insulation, weatherproofing, and design adjustments help keep your pet warm and comfortable during colder periods.