
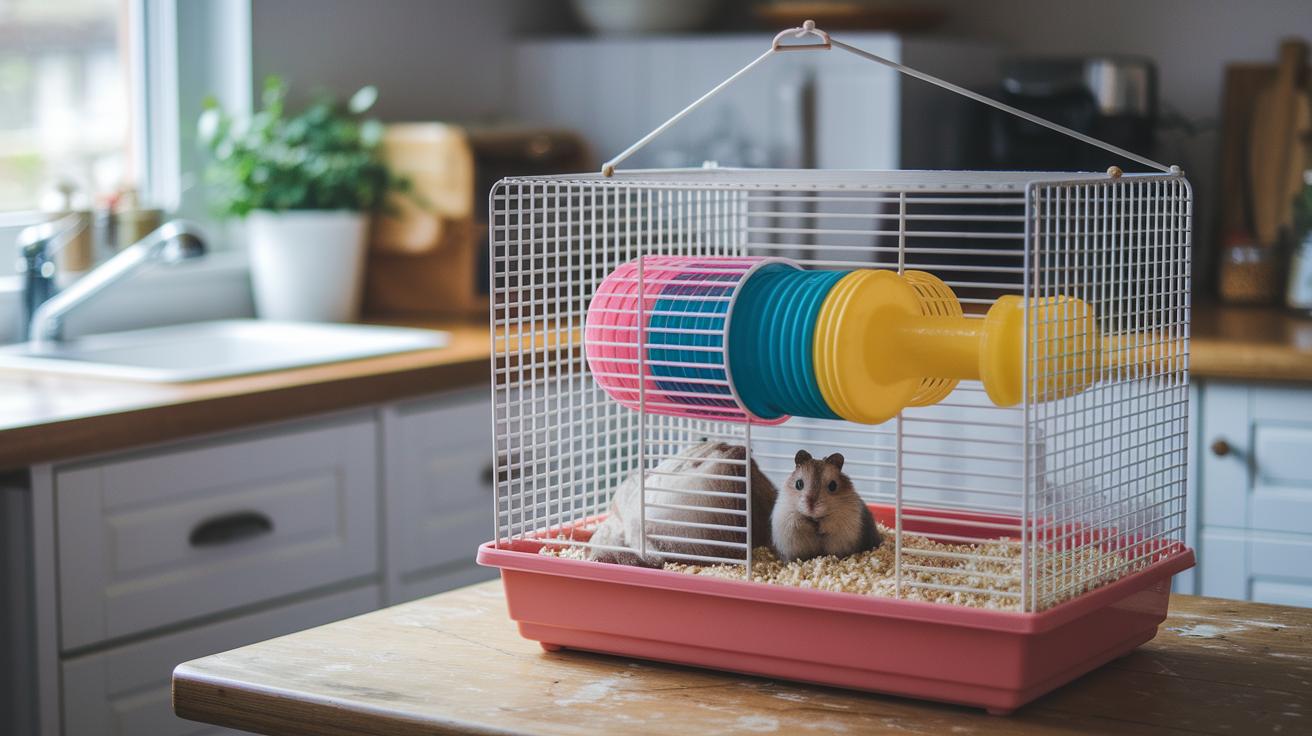

Have you ever wondered how to turn a regular bin into a snug home for your hamster? We know you want to create a secure, budget-friendly space for your little friend. In this guide, we walk you through using everyday, repurposed supplies to build a DIY cage that feels safe and cozy. Step by step, you'll learn how to mix fun design with simple tools so your pet can explore and enjoy their new home every day. Ready to make a safe haven your hamster will love? Let's get started.
Quick Guide to Building Your DIY Hamster Cage at Home
This guide helps you build a safe, budget-friendly home for your pet hamster, Timbit. Inspired by a design created for a little hamster named Roxy, you start with a simple bin layout. First, gather safe supplies like non-toxic clear plastic bins or wood panels and a secure mesh lid. You can also add a splash of paint or trim to give it a bit of style while keeping it sturdy. Imagine turning an ordinary plastic bin into a charming home that makes cleaning a breeze!
After your work is done, you'll see Timbit happily exploring his new space. The finished cage offers a safe spot for play and rest. It also lets your pet climb, burrow, and explore around. Every step, from cutting the panels to fitting the lid securely, is planned so you can feel great about the strength and safety of the home you create. This project is a smart, custom solution for a playful pet, all while reflecting the caring spirit behind every detail.
Essential Materials and Tools for Your DIY Hamster Cage
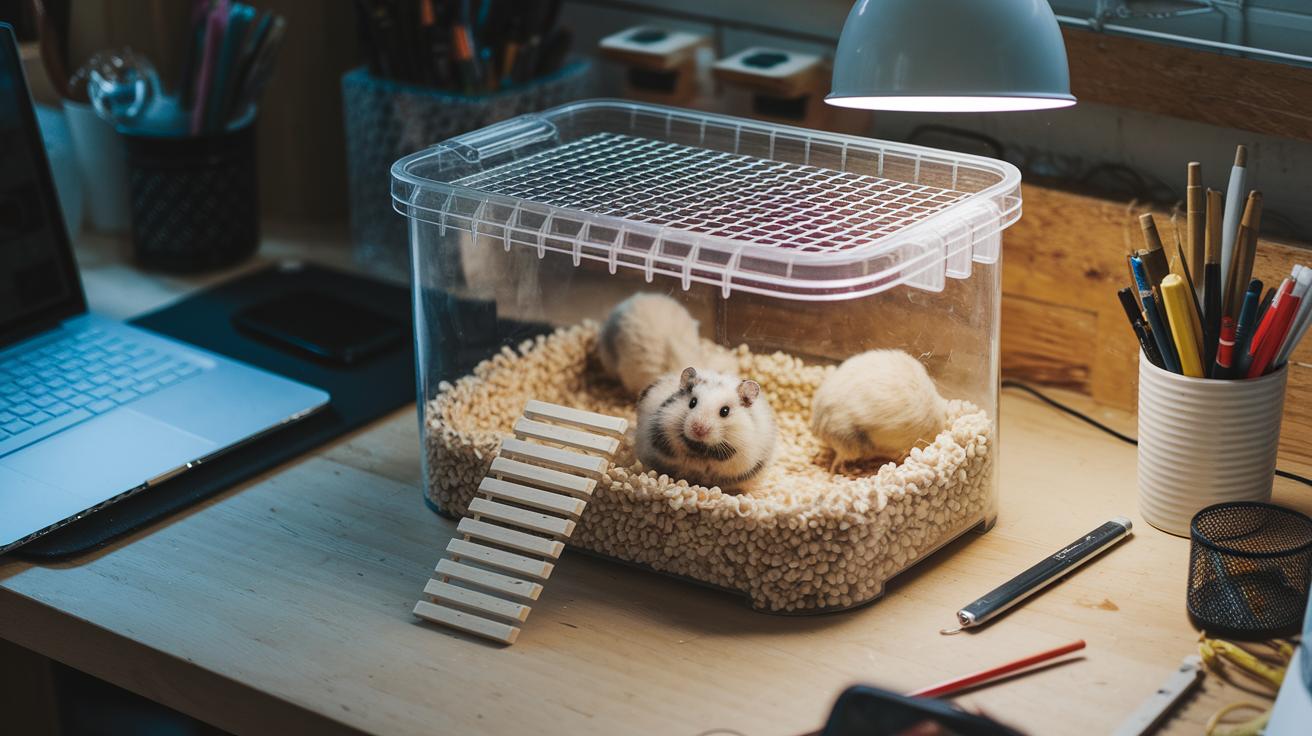
For your DIY rodent home, start with a 30- to 50-quart clear plastic bin or some non-toxic wood panels to create a strong base. A mesh or wire lid is a must for good airflow and keeping your pet safe. Chewing-safe wooden dowels work well for making ramps your hamster can climb. Using repurposed bins or scrap wood also saves money and cuts down on waste. This budget-friendly approach lets you build a cozy, custom space for your small friend.
When picking your tools, a utility knife is perfect for trimming panels to the right size. A drill with the right bits helps you add ventilation holes for a fresh environment. A hot-glue gun or pet-safe sealant secures each piece, and fine-grit sandpaper smooths any rough edges. These simple strategies let you customize every part of the cage while keeping it safe and attractive. With just the right mix of supplies and tools, you can create a durable, affordable hamster cage that your pet will love.
Step-by-Step Assembly of a Bin-Style DIY Hamster Cage
Let's start with a simple plan. You want to set out your bins (or pieces you find at home) and decide where your pet can breathe easy and enjoy safe access. Use a sharp knife to mark and score the plastic or wood carefully. Drill small, evenly-spaced holes for air and create a door that keeps your pet secure. Follow the original Roxy design by smoothing all cut edges and locking fittings tight. A bit of extra paint or a trim can give the cage a friendly, custom look.
- Measure and mark where you need to cut on the bin walls.
- Trim the marked areas with your utility knife.
- Drill small holes evenly for good airflow.
- Fit a secure mesh lid and smooth out any rough spots.
- Cut an access door and attach it with a simple hinge.
- Add interior platforms and ramps using wooden dowels or scrap wood.
- Secure all the parts with a hot-glue gun or pet-safe sealant.
- Paint the outside and add decorative trim to finish the look.
Following these simple steps, you'll build a strong, safe home that is both fun and practical. Every measured cut and drilled hole adds to a space that feels cozy and secure for your pet. Enjoy making a lovely habitat that has both style and care built right in.
Custom Design Ideas for Your DIY Hamster Cage Layout

Think of your hamster cage as a blank canvas where you can blend your style with fun ideas. We know you love making a safe, playful space for your furry friend. Try building multi-level platforms using scrap wood and wooden dowels to create spots for climbing and exploring. Add clip-on attachments like tunnels, hanging toys, and exercise wheels so you can easily change things up when your pet feels playful. Use safe textures and cozy hideaways to give your hamster a spot for chewing and snuggling.
Plan your design around what your hamster enjoys most. Maybe it loves climbing ramps, burrowing in snug hideouts, or running along clear paths. Mix easy, homemade tricks with simple layout changes that can grow with your pet. These little tweaks make the area even more fun and unique.
Below is a quick guide to different design ideas, the materials you’ll need, and the time it takes to build each one:
| Design Idea | Materials Needed | Estimated Build Time (hrs) |
|---|---|---|
| Multi-level Platform | Wooden dowels, scrap wood | 2 |
| Tunnel & Hideout Combo | PVC pipes, soft bedding | 1.5 |
| Ramp and Exercise Track | Wood panels, pet-safe glue | 1 |
| Clip-On Accessories | Cardboard, non-toxic paint | 2 |
Ensuring Safety and Comfort in Your DIY Hamster Cage
Every step you take in building your cage is meant to keep your pet safe. We smooth out every edge to help prevent injuries and use secure lid locks that keep your pet safely inside while still letting in fresh air (about 1 square inch of ventilation for every 10 square inches of floor space). We choose materials that are friendly for your little friend and make sure nothing sticks out or is loose. All these details help create a sturdy, safe space for your curious pet.
Comfort matters, too. A cozy home begins with 2 to 3 inches of bedding that lets your pet burrow and feel secure. Adding several chew toys and hideouts gives your pet fun and a private spot to relax. Keeping the room between 65°F and 75°F with low humidity makes sure the temperature is just right. A quick daily spot cleaning keeps the space fresh and inviting. These simple steps blend safety and comfort perfectly in a budget-friendly, homemade habitat.
Maintenance Tips and Upgrades for Your DIY Hamster Cage
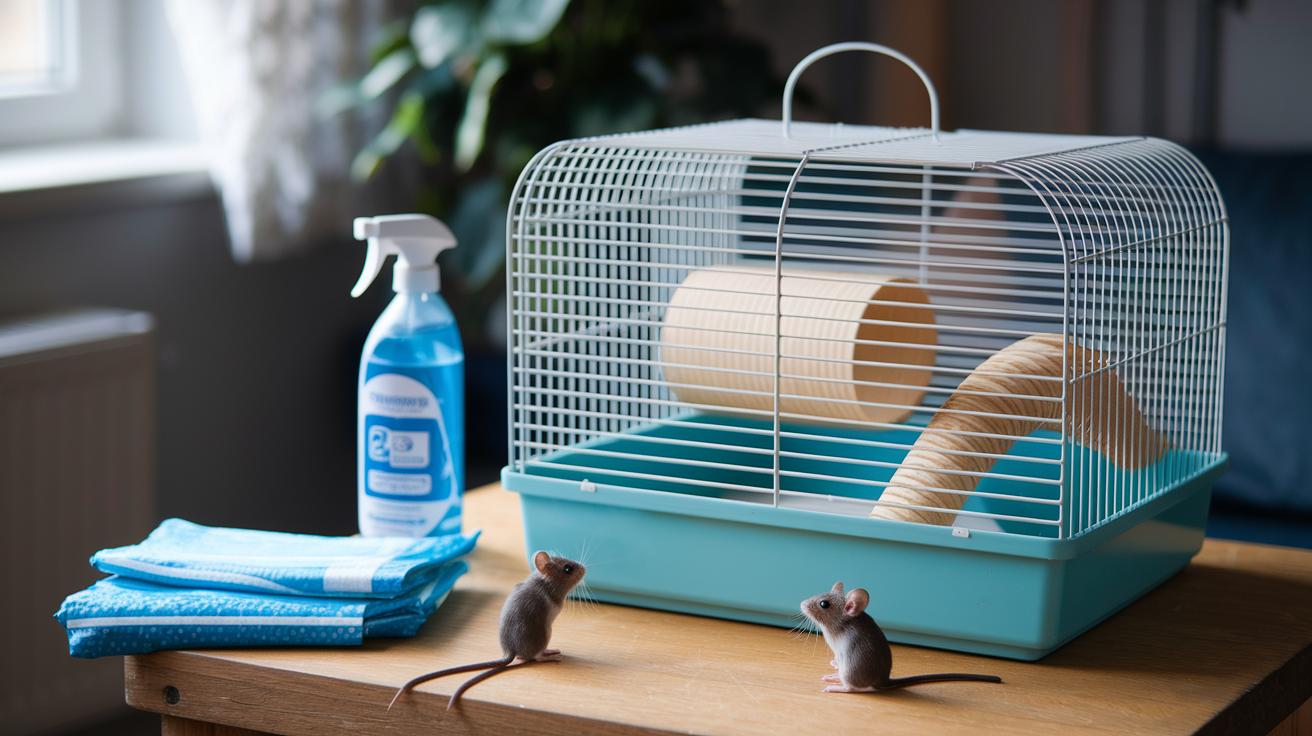
Keeping your DIY rodent home clean is key to a happy, healthy pet. We suggest you quickly wipe the food and water areas every day. This stops spills and mess from building up. Every week, give the whole cage a wash with a pet-safe cleaner. Doing this keeps dirt away and helps your little friend stay comfy.
Next, think about fun upgrades to add a bit of flair to the cage. Try adding simple cardboard tunnels for exploring or a wooden chew platform for healthy snacking. Small extras like a wheel or ladder can make playtime more exciting. You could also use eco-friendly bedding and recycled pieces to build a more sustainable setup. Sometimes, clever ideas like turning old CDs into wheel bases or using a repurposed cabinet drawer for extra space spark new ways to refresh your hamster's world.
Final Words
In the action, you learned to gather materials, follow step-by-step assembly tips, and add custom design ideas to build a safe and budget-friendly space for your pet. The guide touched on essential safety checks, maintenance routines, and creative upgrades.
By following these steps, you can build a practical diy hamster cage that keeps your pet happy while supporting overall pet well-being. Enjoy the process and take pride in a project that makes life simpler and more fun for you and your furry friend.