


Have you ever wondered if a quick seatbelt change could keep your pet even safer in the car? Many pet parents ask if their furry friend is snugly buckled up. Our guide walks you through each step, measuring, adjusting, and clicking in a crash-tested harness. With clear, simple directions, you'll reduce distractions and keep your pet safe on every ride. This easy setup not only boosts safety but gives you peace of mind every time you travel.
Step-by-Step Pet Seatbelt Adjustment for a Secure Fit
Before you start, always park your car and turn off the engine. This makes it safe for both you and your pet. A good fit keeps your pet secure during every trip. It helps spread out forces in a crash and stops your pet from getting in the way while driving.
Measuring Your Pet
First, measure your dog's chest at its widest spot. Then, check the neck where the collar sits. Use two fingers to ensure there's just enough room. This simple check helps the harness fit snugly and safely.
Fitting the Harness
Next, put the crash-tested harness on your pet outside the car. Position it so that any force is spread across the chest and shoulders, not the neck. This proper placement supports your pet during a sudden stop.
Connecting to Your Vehicle’s Seat Belt
Secure the harness by using the carabiner to clip it to both the waist and shoulder straps of your seat belt. Avoid extra tethers since they can weaken the setup. This direct connection helps keep your pet safe when you need to stop quickly.
- Park your vehicle and switch off the engine.
- Measure your pet’s chest and neck, leaving a two-finger gap.
- Try the crash-tested harness on outside the car to check the fit.
- Clip the carabiner to the waist and shoulder parts of the seat belt.
- Adjust the leash-style seatbelt (20.9–34.7 inches) so your pet can’t reach the front seats.
This method gives your pet a snug, comfortable fit while reducing movement during travel. You can feel good knowing your pet is safe on every journey.
Selecting the Right Harness and Seatbelt for Your Pet
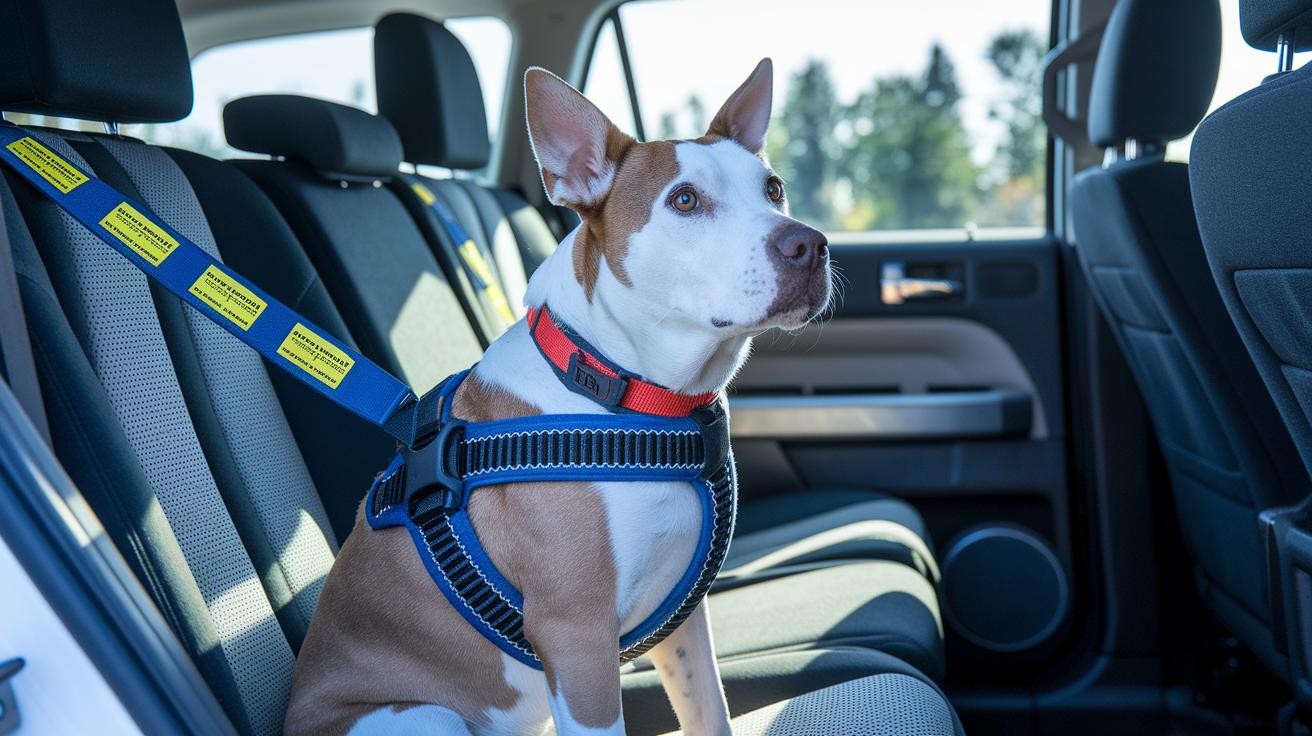
Crash-tested harnesses spread crash forces across your dog's chest and shoulders, making them a safe choice for pets weighing up to 75 pounds. They work better than clip-on attachments because they don't focus pressure on the neck. Many pets suffered injuries from clip-on designs, so using crash-tested gear really makes a difference.
High-quality harnesses use strong materials like reinforced nylon webbing, durable steel parts, and heavy-duty stitching. Look for harnesses that have passed safety tests. Avoid cheap clip-ons that might break when you need them most. A sturdy harness means you can drive knowing your pet is secure.
Team up your crash-tested harness with an adjustable seatbelt for even more safety. For example, the Le Noof seatbelt fits most dogs between about 21 and 35 inches. Options like the Sleepypod Clickit Sport even earn a 5-star safety rating. Make sure the seatbelt clips directly into your car's belt system so everything works perfectly with your vehicle's design.
Ensuring Vehicle Compatibility for Pet Seatbelt Installation
For a secure setup, attach the harness directly to your car's seat belt. This direct connection gives your pet a snug, safe ride. Always clip the carabiner on both the waist and shoulder parts. Keeping your pet in the middle of the back seat keeps them away from any collision zone.
Sedans
In most sedans, you can find the seat belt anchor between the seat cushion and the backrest. Check that the belt lies flat and smooth so the harness isn’t twisted. This clear path makes a big difference if you need to stop quickly.
SUVs & Crossovers
SUVs and crossovers often have adjustable shoulder straps in the belt. This feature helps the harness sit comfortably on your pet. Make sure the belt fits easily between the lap and shoulder areas and adjust the length to keep your pet in the back.
Trucks & Vans
Trucks and vans usually offer several anchor points on bench seats. Take extra care to ensure the anchor is strong and not blocked by the seat design. Connect the harness so that the carabiner fits easily into the belt system. This ensures a stable ride for every journey.
| Vehicle Type | Seat Belt Anchor Position | Installation Tips |
|---|---|---|
| Sedan | Between seat cushion and backrest | Ensure the belt lies flat without twists |
| SUV / Crossover | Adjustable shoulder strap area | Use full-length belt to keep your pet safely in the back |
| Truck / Van | Multiple bench seat anchors | Secure the harness with the available belt system |
Safety Best Practices for Pet Seatbelt Adjustments

Place your pet in the middle of the back seat to keep them safe on the road. If your dog weighs more than 75 lbs, we suggest using a kennel or crate to keep them secure. Only a few states like NJ, RI, and HI require dog seatbelts, but many places have rules against distracted driving and leaving pets in hot cars. Keeping your pet safely in the back minimizes risks during side impacts and stops them from moving into dangerous areas during sudden stops. This simple step shows you care on every journey.
On longer trips, try to pause every two hours so your pet can stretch their legs and have a drink. Never leave your pet alone in a hot car. Even a few minutes in the sun can be harmful. Check the harness and seatbelt from time to time to make sure it stays snug and comfy. A few quick checks and regular breaks help keep your pet secure and relaxed while you focus on driving safely.
Common Mistakes in Pet Seatbelt Adjustment and How to Fix Them
It is easy to make errors that affect your pet's safety in the car. Some common mistakes include using a regular walking harness, an incorrect seatbelt length, clipping to the collar instead of the harness D-ring, having a loose fit that lets your pet move too much, and using a low-quality belt that might break when it matters most.
A harness that has not been crash-tested can force the impact onto your pet's neck instead of spreading it over the chest and shoulders. When the seatbelt is too long, it creates extra slack; when it is too short, it restricts your pet too much. Both situations can cause discomfort or even danger during sudden stops. Also, attaching the clip to the collar, rather than the proper D-ring on the harness, increases the risk of injury in a crash. A loose harness can allow too much movement, making your pet feel like a projectile. And poor-quality belts may snap exactly when you need them the most.
Here is how you can fix these issues:
- Choose a crash-tested harness to spread the force safely.
- Measure the seatbelt so you have just a two-finger gap for the best fit.
- Clip the seatbelt directly to the D-ring on the harness, not the collar.
- Tighten the harness enough to limit movement without being too restricting.
- Select a durable seatbelt that meets established safety standards.
Taking a few moments to check and adjust your pet's seatbelt setup each time you travel can truly make a difference in their safety. We know you care about your pet, and these simple steps help keep them secure on the road.
Maintenance and Inspection of Pet Seatbelt Systems
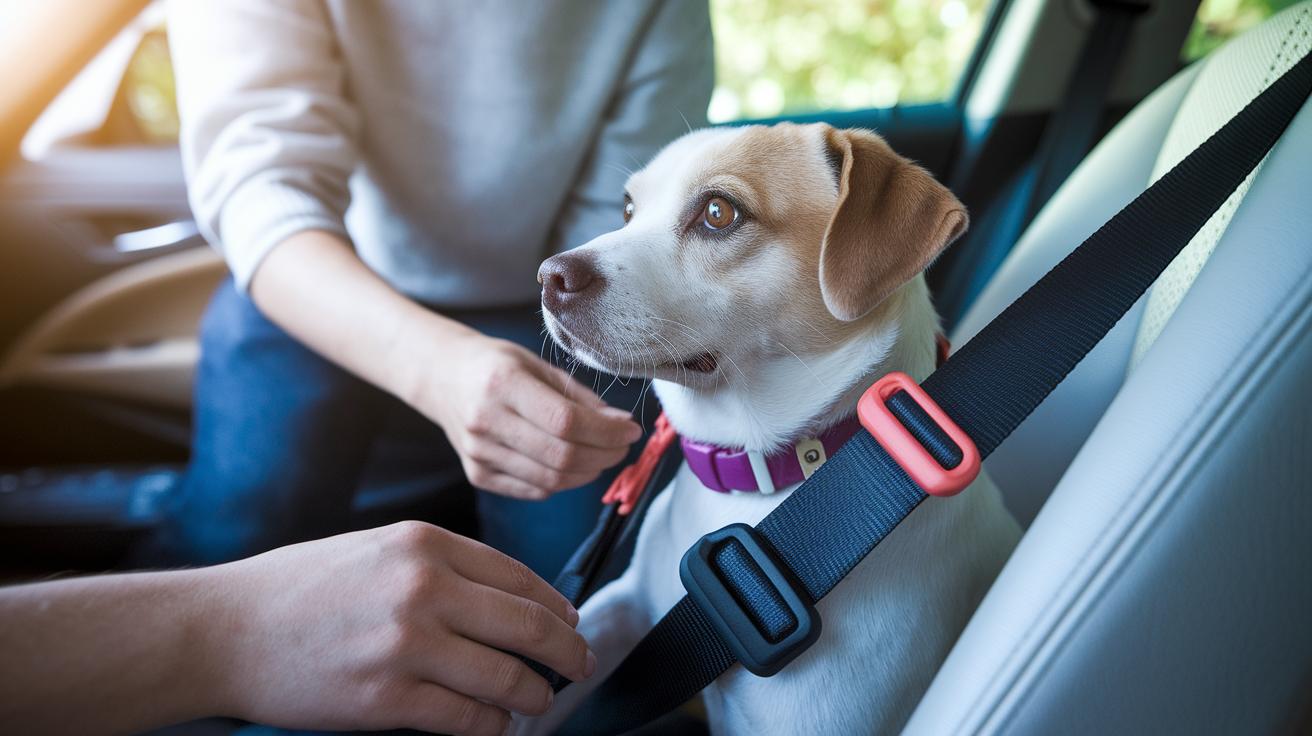
Before every trip, take a moment to check your pet's seatbelt. Look at the straps and clips for any loose stitches, fraying, or rust. Seeing even a small tear in the nylon is a sign that the belt may not work well when it is needed most. A quick look at the buckles and hardware can catch little problems before they get bigger, keeping your pet safe on every ride.
If your seatbelt has been in a crash or shows any damage, replace it right away. Even with careful use, these belts usually last about 4 to 5 years. By changing it as soon as you see wear or after an accident, you help keep your pet secure every time you travel.
Troubleshooting Pet Seatbelt Adjustment Issues on the Road
Sometimes while you're driving, you may notice that your pet's seatbelt isn't set up quite right. It might be too tight, too loose, or the hardware may be causing problems. Even small adjustments can help your pet feel safe and comfy on every trip.
Tight or Restrictive Fit
If your pet looks uncomfortable or starts panting, the harness might be too tight. Try loosening the straps by 1/4 inch at a time. This slight change can help your pet relax while still keeping them secure.
Loose or Slack Belt
If your pet is able to move around or stand up because the belt is too loose, it needs a little tightening. Shorten the belt and adjust the harness so that your pet stays comfortably in place during sudden stops and turns.
Hardware Malfunctions
If the carabiner sticks in the buckle or seems jammed, give it a quick clean and realign the belt. A smooth-running buckle makes sure every part of the seatbelt is working right to keep your pet safe on the road.
Pet Seatbelt Adjustment FAQ
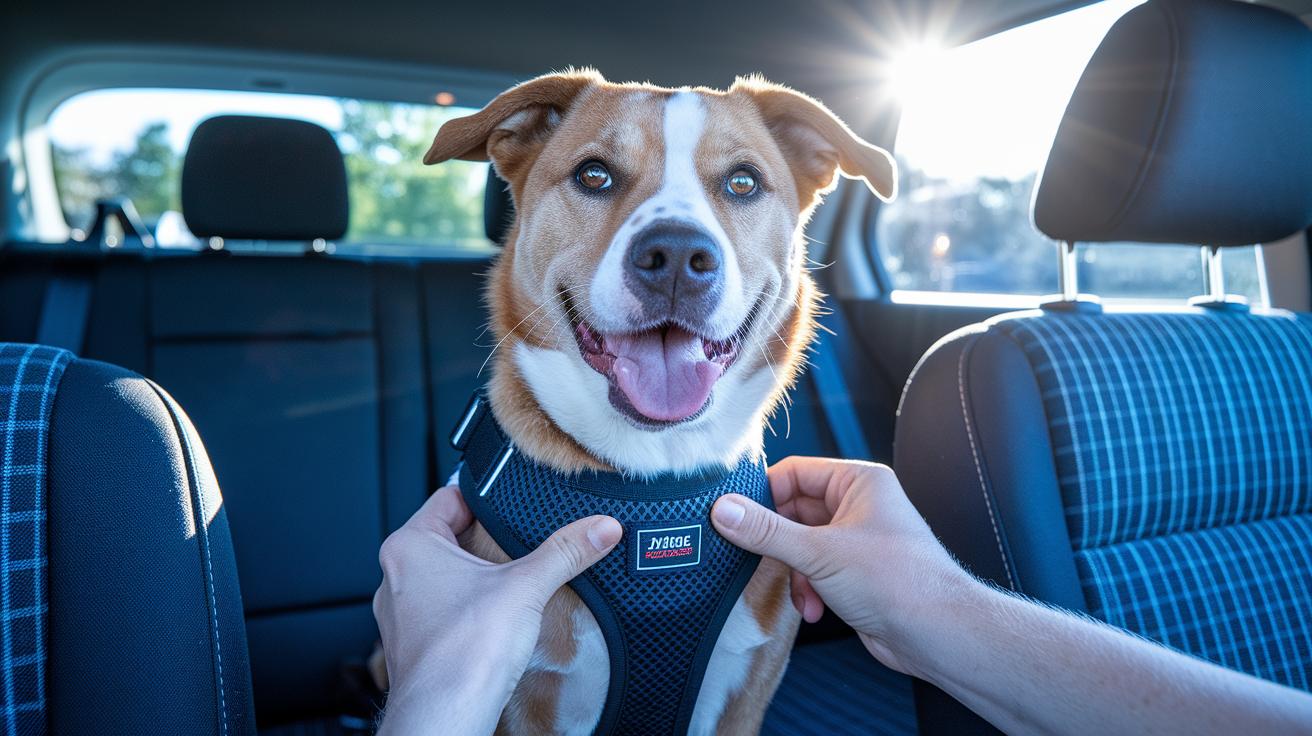
- Always check the fit with two fingers. Slide two fingers between your pet's harness and chest. This shows it fits snugly yet comfortably.
- Fasten the seatbelt directly to the harness D-ring. Do not thread the belt through the harness or attach it to a collar.
- Put your pet in the back center seat. This keeps them safe and away from impact zones.
- Use a crash-tested harness instead of a collar. A harness spreads the force over the chest and shoulders.
- Replace the seatbelt system after an accident or every 4 to 5 years with regular use.
- Follow your local pet restraint laws. Some spots, like Hawaii, New Jersey, and Rhode Island, have fines if you don’t comply.
Final Words
In the action, we've walked you through measuring, fitting, and securing your pet's seatbelt with clear, step-by-step tips. We covered the best practices for harness adjustments, vehicle compatibility, and even common mistakes and fixes to keep your pet safe. With easy-to-follow routines and regular maintenance checks, this pet seatbelt adjustment guide helps you ensure comfort and security every ride. Keep your furry friend snug and supported while making a positive impact through ethical choices. Enjoy stress-free travels with your beloved pet.
FAQ
What is a front seat dog restraint and is it safe?
A front seat dog restraint secures your pet in the front seat. It keeps the pet safe during sudden stops by restricting movement, which reduces the risk of injury.
How do I put a dog in a seatbelt and install it properly?
Putting a dog in a seatbelt means clipping a crash-tested harness onto the car’s seatbelt. Secure it directly to the harness’s D-ring and adjust it so your pet stays comfortable and safe.
How do I adjust a pet harness correctly using the two finger rule?
Adjust your pet harness so that you can slide two fingers between the harness and their body. This rule ensures the harness is snug yet comfortable enough for movement.
What does the front ring on a dog harness do?
The front ring on a dog harness is used to attach additional leads or clips. It gives you extra control during walks or car rides while keeping the harness secure.
Are there seat belts or harnesses made for large dogs or off-road vehicles?
Yes, there are crash-tested seat belts and harnesses designed specifically for larger dogs and off-road use, including UTV harnesses, which offer extra strength and durability for all adventures.
What options are available like Kurgo, Ezydog, and Sleepypod harnesses?
Options include the Kurgo Impact and Tru-Fit Enhanced Strength harnesses, Ezydog Drive, and the Sleepypod Clickit series. These products are crash-tested for safety and built with quality materials for lasting use.
Can I make a DIY dog seatbelt for car travel?
DIY dog seatbelts may not offer crash-tested reliability. It’s best to use approved, crash-tested harness systems that evenly distribute forces to keep your pet secure during travel.