

Ever thought about making your own dog leash to add some extra fun to your walks? This guide shows you how to build a leash that is both strong and stylish. We break the process down into easy steps so you can create a leash that fits your pet's needs perfectly. With a little creativity, every walk becomes a special adventure. Enjoy the extra care and fun when you craft a leash for your furry friend.
How to Make Dog Leashes: Spark Joy
This guide shows you a simple way to build a custom dog leash that is both strong and stylish. Follow these easy steps and enjoy a personalized accessory for your furry friend.
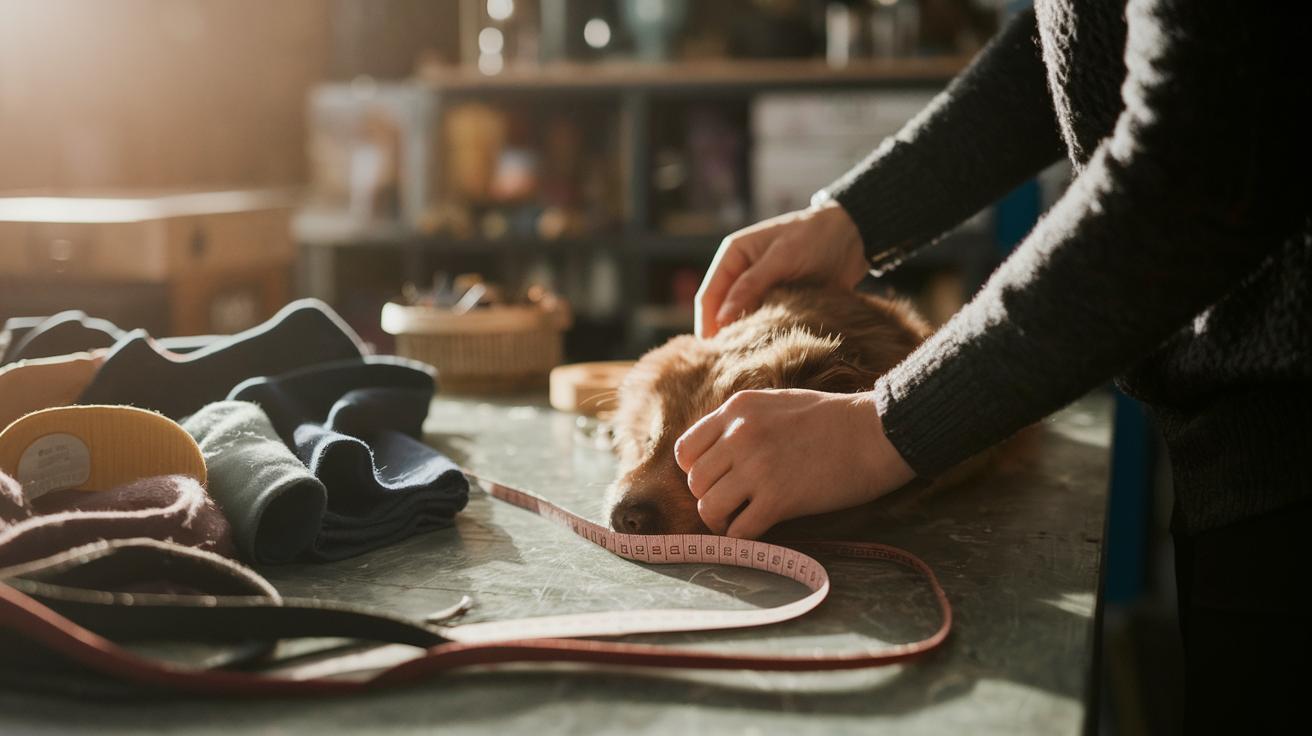
- First, measure your pet's neck and double that number to get the fabric length. (See Measuring and Cutting Fabric and Webbing for more details.)
- Cut a fabric strip that is four times as wide as your desired leash width.
- Next, cut a piece of nylon webbing to match your fabric strip. Trim ½ inch from each end. (Check Measuring and Cutting Fabric and Webbing for help.)
- Fold the long edges of your fabric by ¼ inch. Press them with an iron to make a neat fold. (See Sewing and Assembling a Quilting Cotton Dog Leash for tips.)
- Layer the fabric, webbing, and either an interfacing or bias binding for extra strength. This gives you four layers in total.
- Stitch close to the folded edges using a heavy-duty or denim needle. Remember to backstitch at the beginning and end for extra security. (More info in Sewing and Assembling a Quilting Cotton Dog Leash.)
- Attach the slider, D-ring, and buckle securely at the right spots. (See Attaching Hardware for instructions.)
- Finally, check that your leash is about 5 to 5.5 feet long.
Building your own leash gives you the chance to pick the best materials and add a personal touch. Every walk will be a little more joyful knowing it was made with care, just like how we care for our pets.
Essential Materials and Tools for DIY Dog Leashes
Building a dog leash at home is fun and easy when you use quality materials. You want parts that are tough for everyday walks and safe for your furry friend.
Here’s what you need:
- A fat quarter (18 x 22 inches) of quilting cotton or lightweight cotton twill. (For a longer leash, use one yard.)
- One yard of 1-inch wide nylon webbing (a strong strap).
- One heavy-duty snap hook or lobster claw clip that can handle pulling.
- One D-ring and an adjustable slider buckle for a snug fit.
- A heavy-duty needle made for denim or jeans to sew sturdy seams.
- Strong upholstery or polyester thread.
- One interfacing or bias binding (a type of fabric used to add extra strength).
- Fabric scissors and a ruler or measuring tape.
- A lighter or another heat source to seal the ends of the webbing.
- Basic sewing supplies like pins and chalk.
If you're watching your budget, check for sales or local stores that offer quality remnants or bulk deals. This smart approach helps you gather durable parts without breaking the bank.
Measuring and Cutting Fabric and Webbing
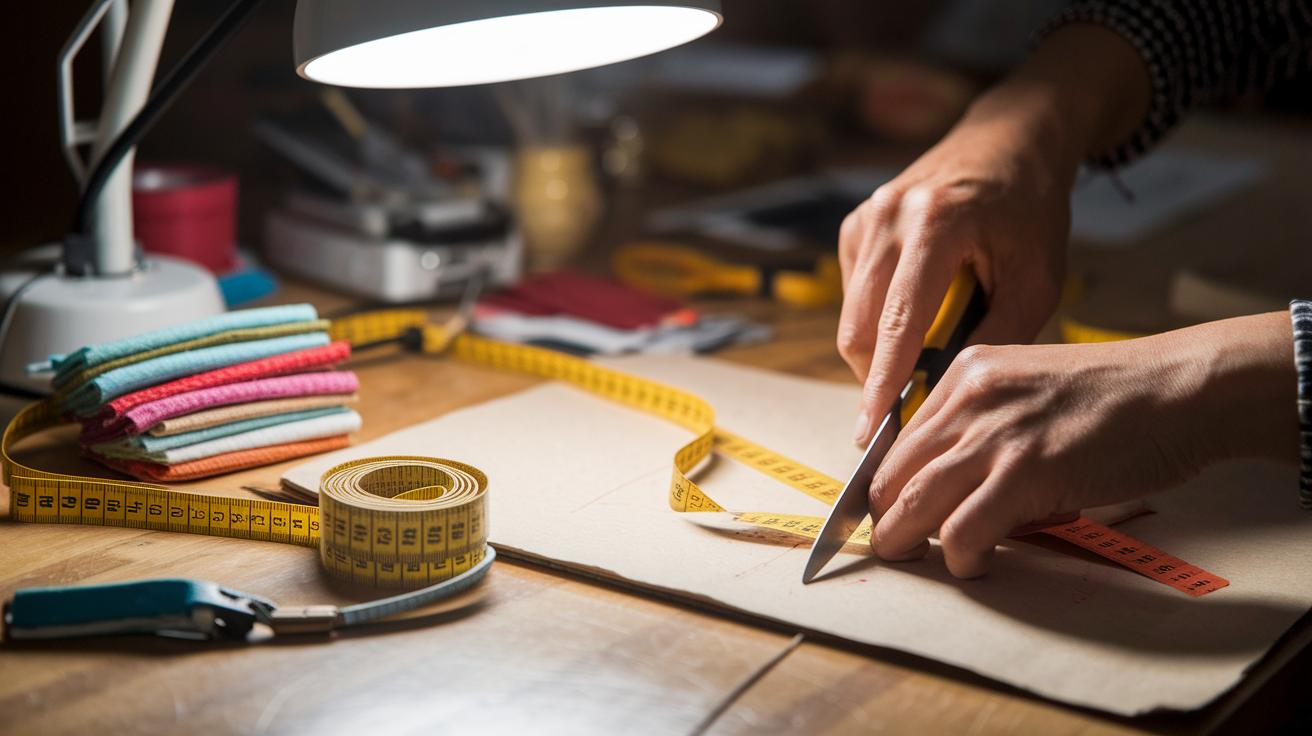
To make a great leash, careful measuring is key. Start by measuring your pet's neck around, then double that number for the fabric length you need. Next, cut a fabric strip that is four times as wide as the leash you want. For example, for a 1-inch leash, cut a 4-inch strip. If you're making a leash for a small pet with a ¾ inch width, multiply ¾ by four for the strip width.
If your fat quarter (a piece of fabric that is usually 18 by 22 inches) isn't wide enough, simply cut two strips and sew them together with a ¼ inch seam allowance to make one long piece. For instance, if your pet's neck measures 12 inches, you will need a 24-inch fabric length and a strip cut by the rule above to make a sturdy leash.
When cutting the nylon webbing, trim it so that it matches the length of your fabric strip. Trim half an inch from each end of the webbing to get neat edges. Carefully use a lighter to heat-seal the webbing ends. This little step stops fraying and helps your leash last longer. Did you know that a small, heat-sealed edge can add life to your DIY leash? It helps the leash hold up during even the most active play.
By following these steps, you make a leash that is strong and built to last.
Sewing and Assembling a Quilting Cotton Dog Leash
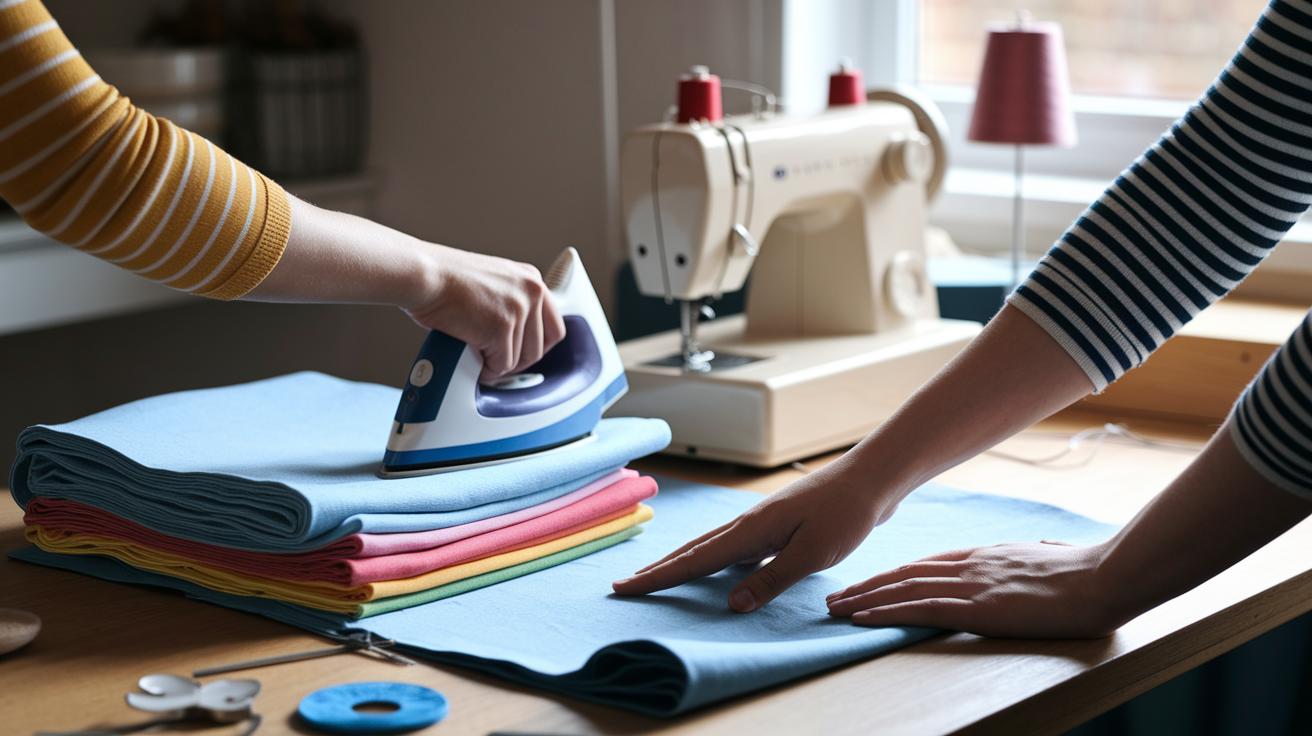
Folding and Pressing Edges
Take your fabric strip and fold both long sides inward by 1/4 inch. Press the folds with an iron until they are flat and smooth. It’s like smoothing a pet’s fur before a fun walk.
Layering Webbing and Reinforcement
Place your heat-sealed webbing right in the center of the folded fabric. For extra strength, add a layer of interfacing or bias binding between the fabric layers. This gives you a sturdy four-layer design that can handle playful adventures.
Topstitching and Backstitch Techniques
Sew along the folded edges using a heavy-duty or denim needle with a 1/8 inch seam allowance. Stitch as close to the edge as you can. Then, backstitch both ends to lock the seam in place, kind of like adding an extra safety knot on your pet’s favorite toy.
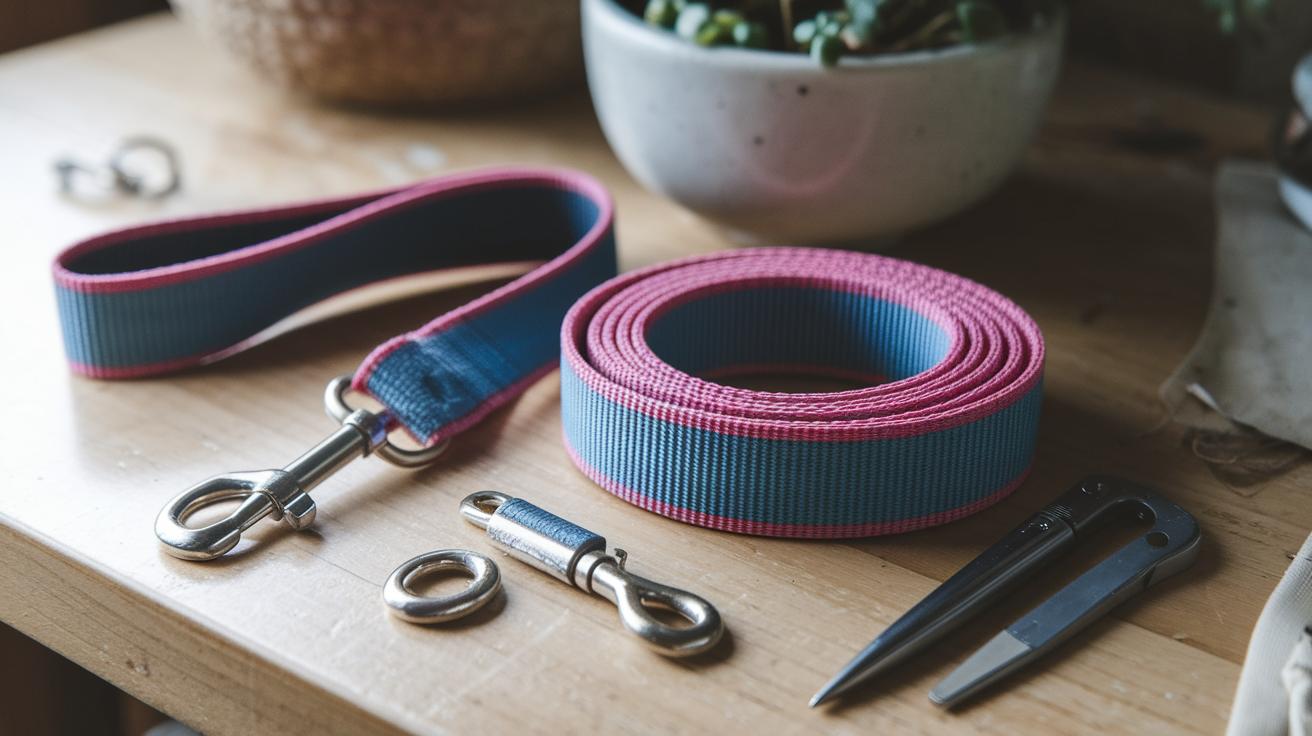
Attaching Hardware: Clips, Buckles and D-Rings
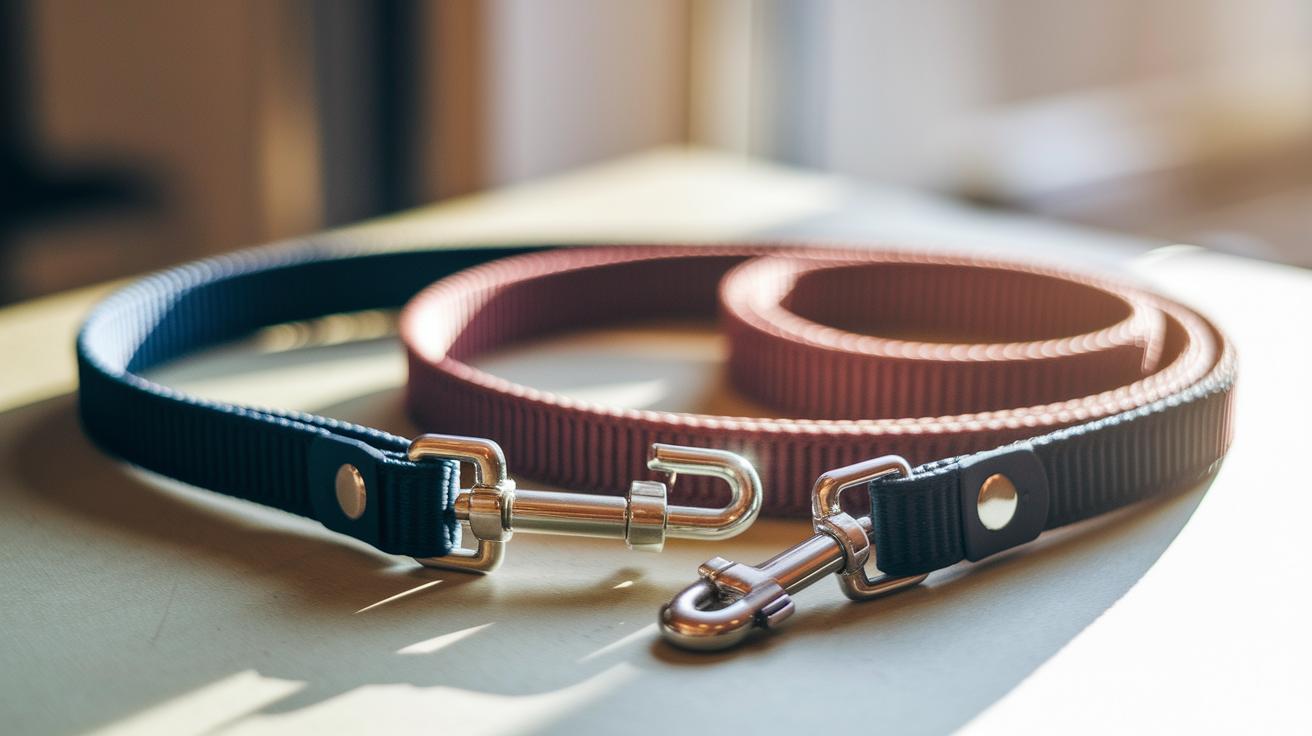
Every part on your leash does a big job. The slider and buckle form the handle so you can set a comfy fit. In the middle, a D-ring is sewn on with its rounded side facing out. This creates a handy spot for tags or a small charm. At the other end, a strong snap hook or lobster claw clip keeps the leash safely hooked to your pet’s collar. Each part is chosen to hold up even when your dog is full of energy.
To fasten everything securely, start with the slider and buckle at the handle. Then, stitch the D-ring in place at the midpoint, making sure it faces outward so accessories can hang easily. Next, attach the snap hook or lobster claw clip at the leash end. Use several back-and-forth stitches at each point for extra strength. This careful order and stitching method makes sure every piece stays secure during even the most active play sessions.
Leash Length, Sizing and Customization Options

Choosing the right leash starts with thinking about your dog's needs. Most leashes are about 5 feet long, and with buckles and D-rings, they come out to nearly 5.5 feet. Bigger dogs enjoy this extra room to explore while staying close to you. For smaller pups or puppies, a 4-foot leash can feel snug and easier to manage.
By looking at how active your dog is and what makes them comfortable, you can pick the perfect length. Remember, the extra bits like buckles may add a little extra length, so plan ahead to get that just-right fit.
Adjustable features add both ease and a little personal style. Some leashes have slider buckles or several D-ring spots, letting you change the length from 3 to 6 feet depending on your day's walk. This means you can tighten the leash for quick control or give your dog more wiggle room when it's safe. You might also add touches like reflective tape, padded handles, or fun color accents to boost both safety and style. Every walk becomes a chance to show off a leash that's durable, stylish, and perfectly suited to your beloved pet.
Strengthening, Durability and Maintenance Tips
Add extra fabric support at the stress points and build a four-layer leash (fabric, webbing, interfacing, fabric). This makes the leash much stronger. Reinforce spots where the hardware connects with extra stitches like bar tacks or box stitches. Using strong thread, such as high-tensile polyester or upholstery thread, helps the leash hold up even when your dog gives an extra tug.
Before you go for a walk, test the new leash by pulling it with 1.5 times the force you expect from your dog. This simple test shows if there are any weak spots in the stitching or fabric layers. It gives you extra confidence that every pull is met with the right support.
Regular checks and upkeep keep your leash safe for a long time. Every so often, use a heat source to slightly melt the webbing ends. This stops them from fraying and keeps the finish neat. Look at all seams and make sure the hardware stays secure. If you notice any frayed spots, repair them quickly with small fabric patches or binding strips. These little fixes keep your leash strong and ready for all your walks and adventures together.
Final Words
In the action, this guide walks you through the whole process, from selecting quality supplies to detailed steps for measuring, cutting, sewing, and attaching hardware. It breaks down DIY dog leash construction so you understand each phase easily. The instructions show how to make dog leashes that are safe, stylish, and built to last. With repeatable techniques and clear tips on customization, you can create a leash that fits your pet perfectly and supports a great cause. Keep creating and enjoy the process!
FAQ
FAQs
How to make dog leashes to sell
Making dog leashes to sell involves designing a robust product. You measure, cut, and sew quality fabric and webbing, then attach strong hardware like D-rings, sliders, and snap hooks for safety and durability.
How to make dog leashes out of fabric
Making dog leashes out of fabric means using a fabric like quilting cotton or twill. You cut it to size, fold for strength, sew in layers with interfacing, and add hardware for a secure finish.
How to make dog leashes easy
Making dog leashes easy means following a simple, step-by-step guide. Measure accurately, cut fabric and webbing, sew layers carefully, and attach pre-selected, strong hardware so you end up with a durable, pet-friendly leash.
How to make a leash in Minecraft
In Minecraft, a leash is crafted using a slimeball and string. The leash lets you attach and lead animals, and you can follow in-game recipes found in Minecraft guides for detailed steps.
How to make a dog leash with rope
Making a dog leash with rope involves choosing a sturdy rope, then weaving or braiding it for added strength. Attach reliable hardware like a D-ring and snap hook to ensure safe and effective control.
How to create a DIY dog leash and collar
Creating a DIY dog leash and collar means you gather supplies that match in style and safety. You follow clear instructions for cutting, sewing, and attaching hardware, ensuring both items are durable for everyday use.
How to make a dog leash out of nylon rope
Making a dog leash out of nylon rope means selecting high-tensile rope for strength, cutting it to the right length, and adding strong hardware like a D-ring and snap hook after heat-sealing the ends.
What does a DIY Dog Lead Kit include
A DIY dog lead kit includes pre-selected materials such as fabric, webbing, interfacing, and strong hardware. It offers clear instructions to help you easily create a custom, pet-safe leash step by step.
What is the best material for a dog leash
The best material for a dog leash often combines durable nylon webbing with reinforced fabric layers. These materials are engineered to handle everyday pull forces while ensuring a safe, long-lasting product.
How to make a custom dog leash
Making a custom dog leash means you tailor the design, size, and style to your pet. You choose quality materials, measure accurately, sew multi-layered fabric, and add unique hardware for a personalized touch.
What can be used as a leash
A leash can be made from various materials like sturdy nylon webbing, fabric strips, or robust rope. The key is to ensure the chosen material and hardware can safely support your pet’s pull force.
What is the best rope to make a dog leash
The best rope for a dog leash is high-tensile nylon rope. It is durable, resistant to wear, and can be treated with heat to seal the ends, making it ideal for a long-lasting, secure leash.