
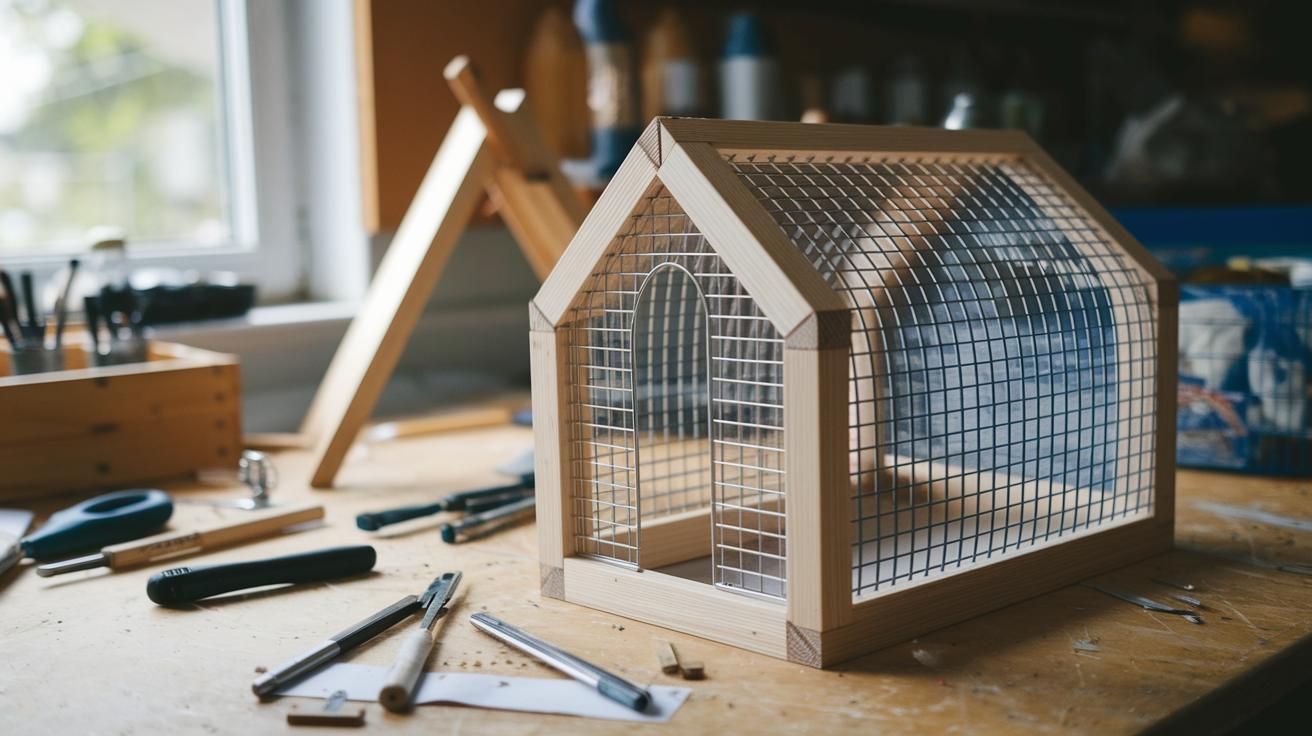

Have you ever thought about making a safe, fun home for your pet rat without breaking the bank? This DIY rat cage project is a great way to do just that. You only need a plastic storage bin, some PVC pipes, and a little creativity.
We’ll show you every step, from taking measurements to putting it all together. By the end, your little buddy will have a snug space to call home, and you'll enjoy the satisfaction of making something special.
Step-by-Step Construction Guide for Your DIY Rat Cage
-
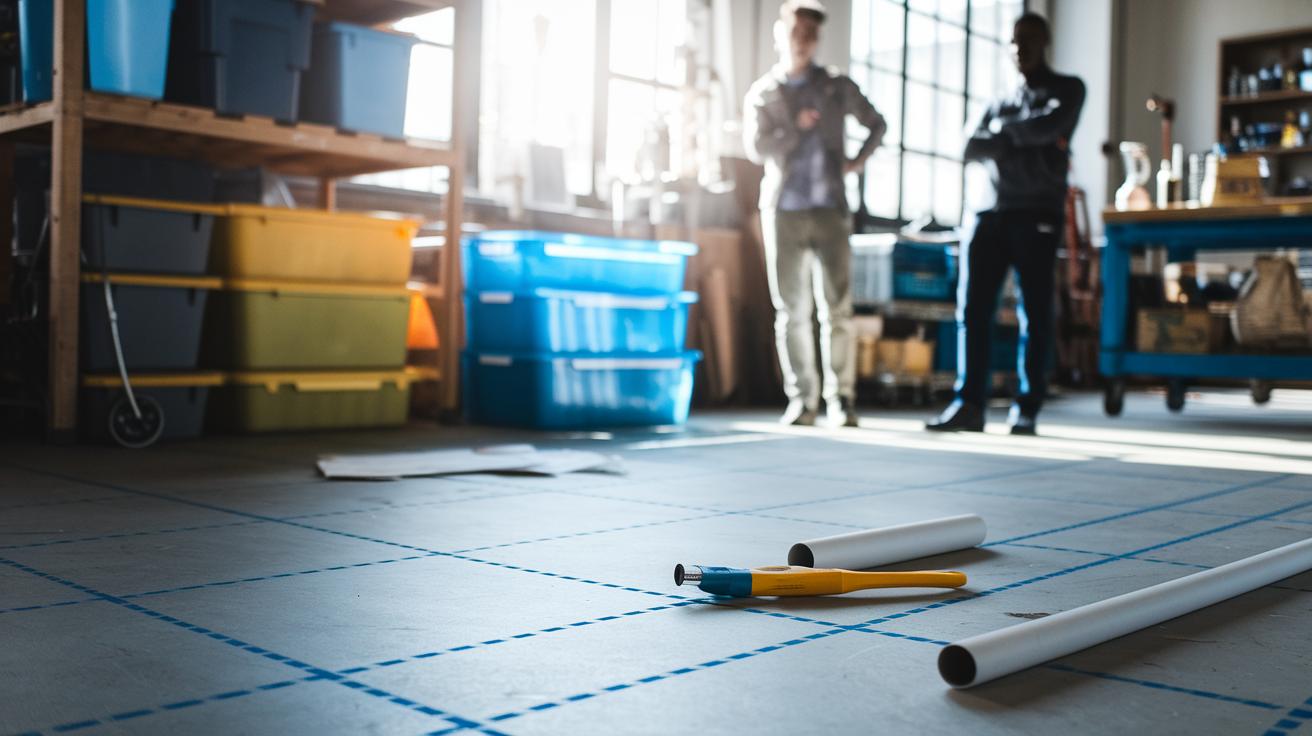
Start with a big, wide plastic storage bin. This bin becomes the cage. The lid works as the roof, and the bottom as the floor. Measure the inside of the bin so you know how long your PVC pipes should be.
-
Plan your layout with care. Mark where the wheel wells are and decide how the PVC frame will move around them. Remember: knowing your bin’s exact size saves you time.
-
Cut the PVC pipes to match the bin's inner length and width. A PVC cutter or saw works fine if you make clean cuts. Join the pieces with elbows to build a strong rectangle. This forms the base frame of your cage.
-
Press the frame into the bottom of the bin. Make sure it fits well around the wheel wells. A close fit keeps the frame steady during your rat's active play.
-
If you need extra strength, add more support pieces. This extra help makes the cage safer and gives you room to add fun features later.
-
Put the lid on top like a roof. Check that it fits snugly. Now you have a safe, creative, and fun home ready for your rats.
-
Finally, check all joints and connections. When you are happy with the build, your DIY rat cage is ready for your personal touches, like toys or extra platforms.
DIY Rat Cage: Essential Materials and Tools
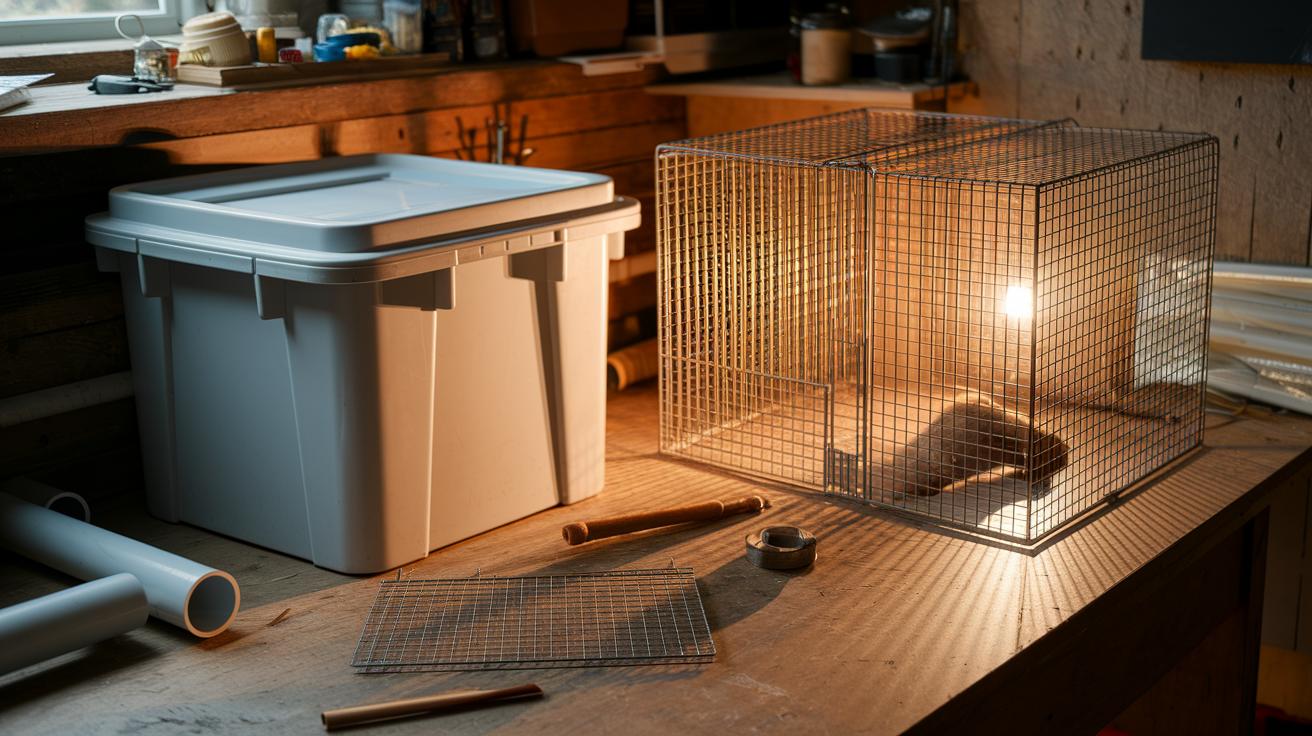
First, gather all the supplies you need to build a cozy cage for your pet rat. You will need a large plastic storage bin with a lid. The lid works as a roof and the bottom becomes the floor. Make sure the bin is wide and deep so your pet has plenty of space.
Next, get some PVC pipes and corner connectors to build a sturdy frame. Use a PVC cutter or saw to cut the pipes to match the bin's inner length and width. For the cage walls, you need hardware cloth cut to your chosen height. It’s a good idea to order a little extra so you can trim it later for a perfect fit.
For shelves, you have two options. You can use threaded rods with key rings for a set-up that stays in place or opt for heavy-duty cardboard panels if you’re watching your budget. Use zip ties or hose clamps to secure the hardware cloth and any mounting pieces.
You will also need a few basic tools: wire cutters, a drill with a hole saw bit for making doors, a measuring tape, and a marker to mark where to cut. These supplies work together to create a safe and practical home for your little friend, just like the DIY guinea pig cage example.
Enjoy building a fun and safe space for your pet!
DIY Rat Cage Frame and Base Construction
-
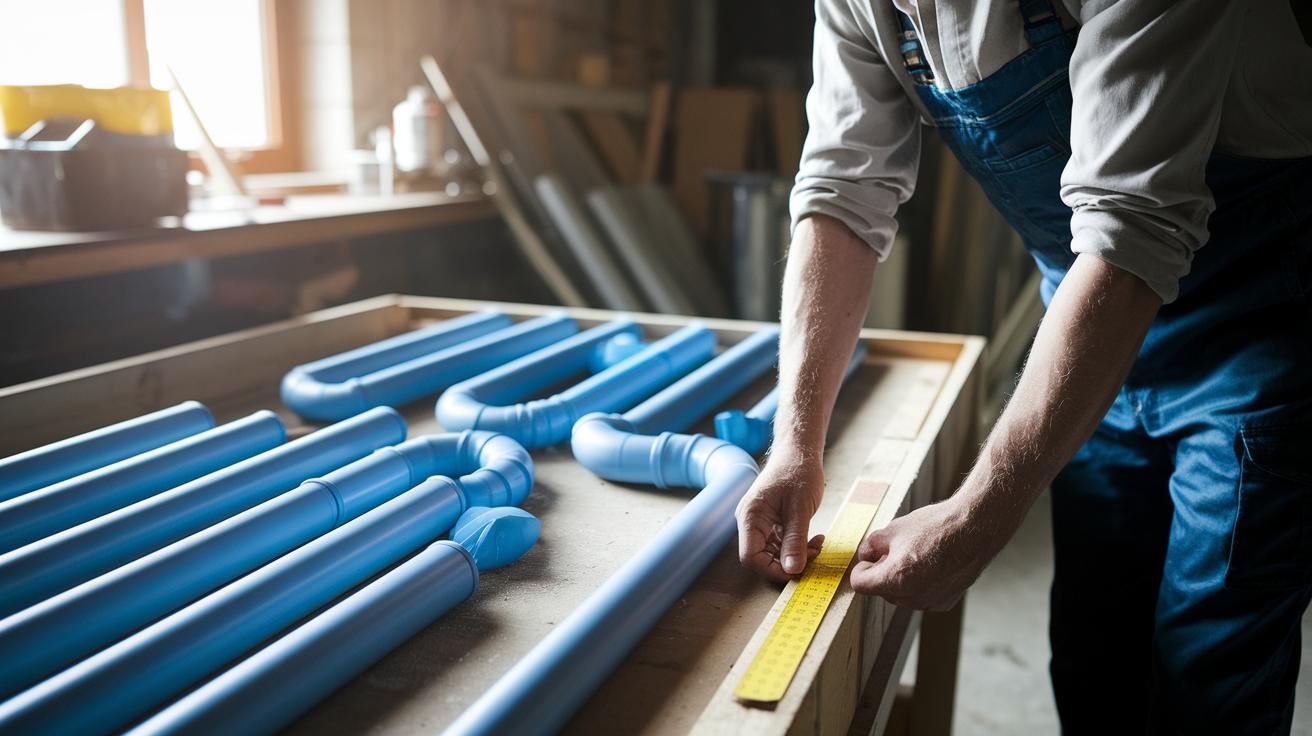
Start by measuring the inside of your storage bin. Check the whole space, including the curved parts of the wheel wells. Mark where each pipe will go so every edge fits just right.
-
Next, cut the PVC pipes to match your measurements. Make sure the cuts are smooth and straight. If needed, trim the pieces a bit longer or shorter around the wheel wells.
-
Put the PVC pieces together using elbow connectors to form a firm rectangle. Set the frame down in the bin to see if it fits snugly with no gaps or slips.
-
For extra stability, add a pair of rubber feet or a small piece of tank-top foam between the frame and the bin floor. Press lightly in each corner so the frame stays put.
If you see any gaps or movement, double-check your measurements and make sure the cuts are perfectly straight.
DIY Rat Cage Hardware Cloth Installation and Doors
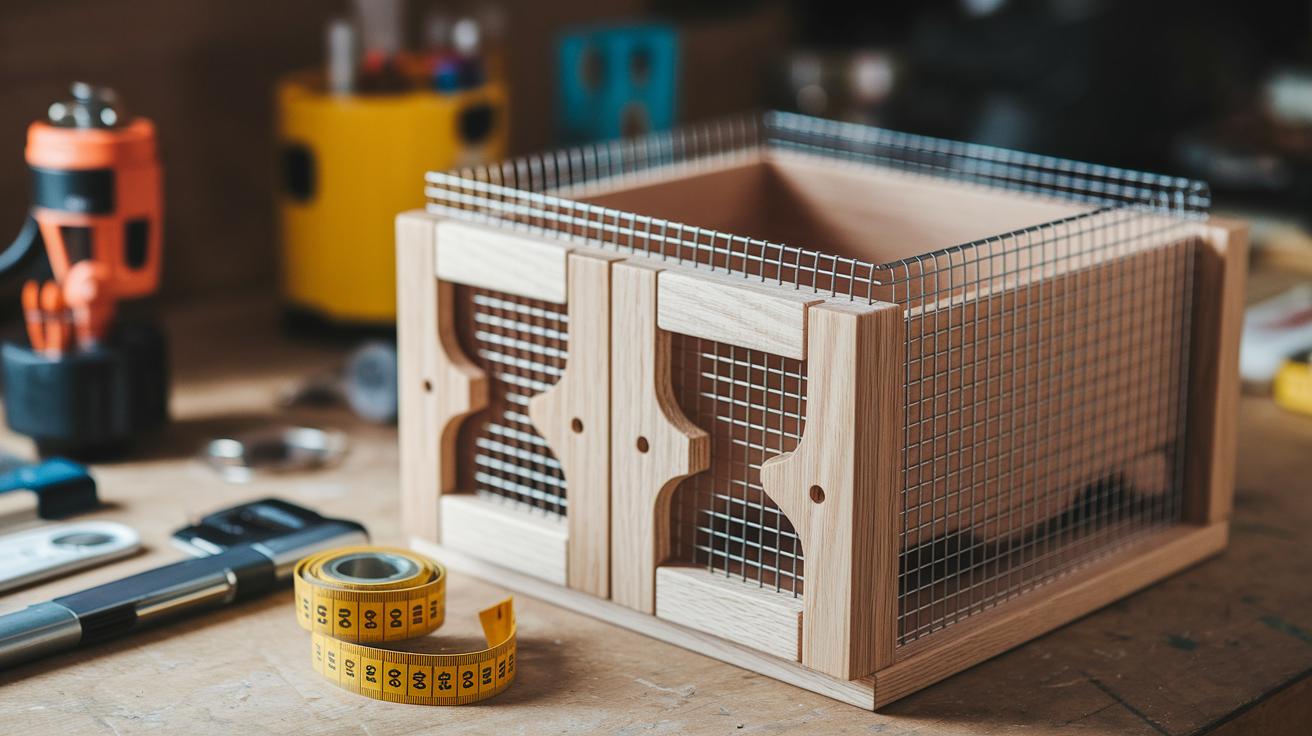
Start by spreading the hardware cloth along the inside walls of your storage bin. Make sure the width matches the cage height you want and leave an extra 2 or 3 inches to trim off later. This extra bit helps you get the perfect fit after a dry-run.
Then, mark four door openings on the cloth. Each door should be about 12.5 inches by 12.5 inches for safe, easy access. Remember to subtract about a quarter to half an inch on each side so the door frame fits snugly. That means your final door will be closer to 12 inches on each side.
Next, do a dry-fit of the hardware cloth over your PVC frame and along the bin’s edge. This step helps you see that each door covers the right spot without leaving big gaps where your pet might slip out. A good tip is to lay the cloth flat and check your measurements before you cut anything permanently.
Secure the cloth using zip ties or hose clamps. Make sure it stays tight and that the edges are flush against both the PVC frame and the bin. A firm fit is key to keeping your pet safe while also allowing proper airflow through the cage walls.
Finally, check that the edges of your doors are smooth and that they swing open easily. This way you get simple access and maintain a secure space for your little friend.
DIY Rat Cage Multi-Level Shelves and Ramps
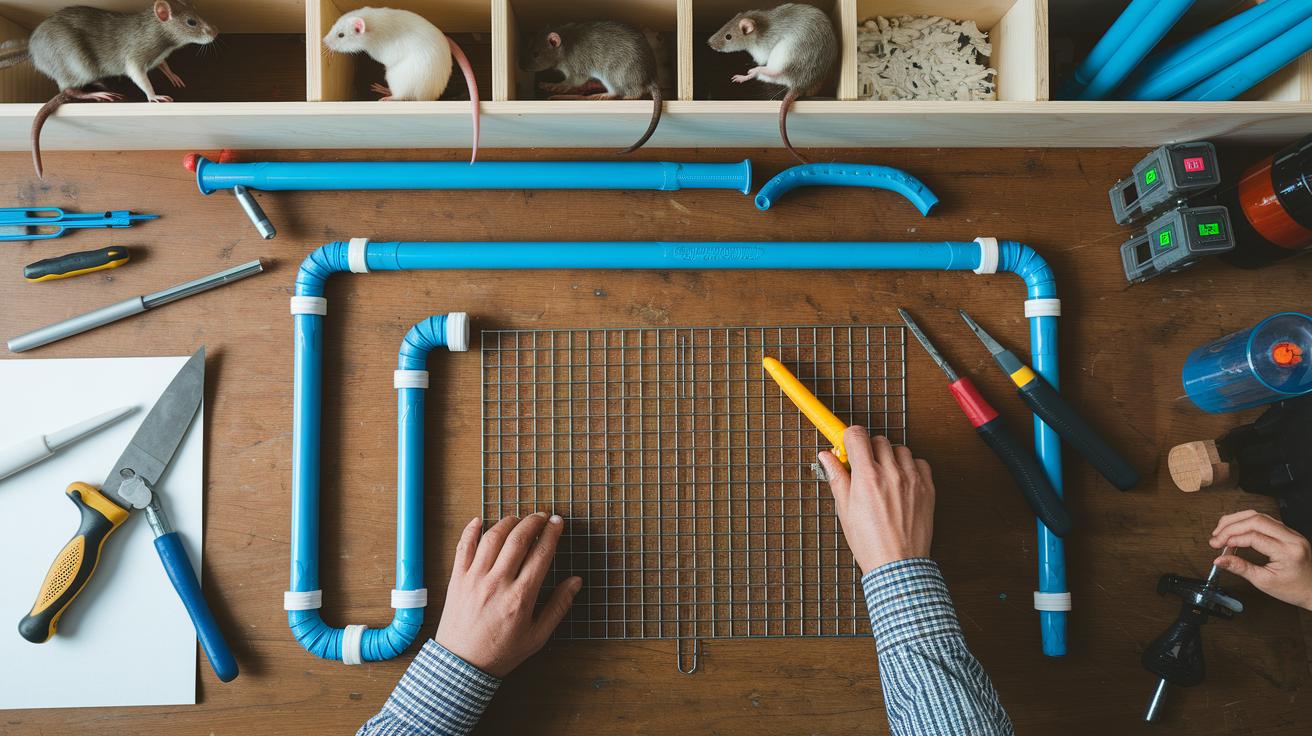
Begin by cutting PVC pipes to match the depth of your cage. Join the pipes with elbow connectors to form a sturdy rectangle. Then, wrap the frame with hardware cloth so your rats have a safe, strong platform to climb and rest.
There are two simple ways to add shelves to your cage:
- Method A: Push threaded rods through the PVC frame and secure them with key-chain rings. This makes a very stable shelf that stays put. Keep in mind that once you install this shelf, moving it later may be hard.
- Method B: Place heavy cardboard panels on PVC rails to form the shelf. This is a cheaper choice and lets you change panels quickly if they wear out. Use zip ties or adhesive strips to hold the cardboard until it needs to be replaced.
For a ramp, build a gentle slope near your cage door. A fixed ramp lets your rats easily move from one level to the next and saves time compared to taking apart a full staircase. Make sure the ramp has a smooth surface so your pet can climb up and down safely.
Mix and match different levels by including both straight and angled platforms. This variety helps your pet exercise and stay engaged as they explore a fun and interactive setup.
DIY Rat Cage Customization and Enrichment
Give your rat a fun, new playground with a few smart changes to its cage. You can add playful spots and little surprises that keep your pet busy without breaking the bank.
Start by adding fun modules. For example, build a couple of digging boxes using two large boxes. This simple idea helps your rat enjoy natural burrowing and stay entertained.
Next, boost their foraging skills with easy toys. Try using a treat ball or hanging a small kebab stick. These toys encourage your pet to work for treats and keep both body and mind active. If you feel creative, repurpose a wooden bird perch as a chewing station or even use an old toilet paper holder for a quirky twist.
You can also add hammocks, ropes, and small space pods between the levels of the cage. These pieces invite your rat to climb and play. For older rats or those not as spry, a low-entry hammock or a snug nest box gives a comfy place to rest.
With just a few personal touches, your DIY project becomes a lively space that keeps your rat healthy and curious.
DIY Rat Cage Safety, Ventilation, and Maintenance
Run your hand along the hardware cloth and PVC edges to feel for any sharp spots. File down or tape over any rough spots so your rat won’t get scratched. Imagine each edge being as smooth as glass. Keeping them safe really helps.
Use hardware cloth instead of solid panels to boost airflow. Solid panels can block air and make the cage stuffy. Good airflow keeps your rat comfortable and the space cool.
Check door latches and frame joints every week. If you see bent clips or old zip ties, replace them right away. A quick weekly check can catch problems early, like spotting a loose hinge before it grows into a bigger issue.
For cleaning, take off the lid and slide out the shelves. Then wipe down the bin floor and PVC frame with a pet-safe disinfectant. For older rats, use lower platforms, wider ramps, and stable perches so they can move around easily. As one pet owner said, "Safe touches make all the difference." These steps help keep the cage safe, eco-friendly, and healthy for your furry friend.
DIY Rat Cage Cost Estimates and Budget-Friendly Tips
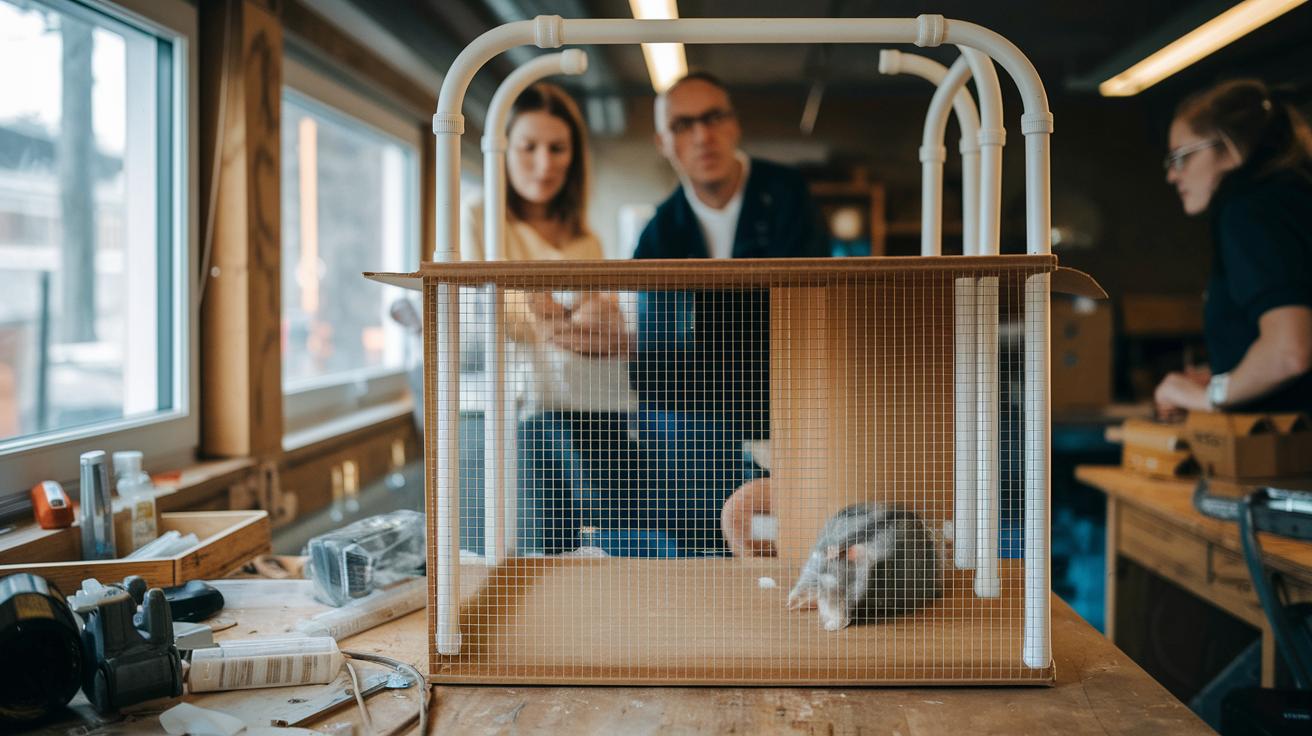
If you're looking to build a cozy home for your pet rat without spending a fortune, you're in the right place. Here's what you can expect on a budget:
- Storage bin: about $20 to $30
- PVC pipes and fittings: about $15 to $20
- Hardware cloth: about $10 to $15
- Fasteners (like zip ties or hose clamps): about $5 to $10
Feeling creative? You can save more by using a cardboard shelf. It costs less, but you'll need to replace it sooner if it wears out.
Also, try reusing old items, such as an extra bin or scrap PVC. This smart swap might cut your project costs by 20 to 30%. With these tips, you can make a safe and fun rat home without overspending.
Final Words
In the action, we walked through planning, building, and customizing a safe, fun habitat. We covered step-by-step PVC frame assembly, hardware cloth installation, and creative multi-level shelves. These clear steps help you tackle your diy rat cage project with ease. You learned how to ensure safety, proper ventilation, and budget-friendly choices. Every step brings your pet a happier, healthier space. Enjoy the build and the joy it brings to your little friends.
FAQ
DIY rat cage plans
The DIY rat cage plans offer step-by-step ideas to build a safe, interactive habitat using common items like a plastic bin, PVC pipes, and hardware cloth. They guide you from planning to complete construction.
DIY rat cage PVC
The DIY rat cage PVC instructions focus on building a sturdy frame with PVC pipes and connectors. They show you how to measure, cut, and assemble parts to create a secure foundation for your rat’s home.
DIY rat cage outdoor
The DIY rat cage outdoor concepts adapt indoor designs for outside use by using weather-resistant materials and ensuring proper ventilation. This helps create a safe, fresh-air space for your pet rat.
DIY rat cage accessories / DIY rat accessories
The DIY rat cage accessories include creative add-ons like hammocks, tunnels, and foraging toys. They add enrichment and customization, making the cage more engaging and fun for your pet rat.
DIY rat bin cage
The DIY rat bin cage idea uses a large plastic bin as the main structure, enhanced with a PVC frame and hardware cloth. This design is affordable and easy to build while keeping your pet safe.
Rat cage ideas / Rat cage setup
The rat cage ideas and setup tips combine features like multi-level shelves, ramps, and secure doors. They focus on stable construction, good airflow, and enrichment to meet your rat’s natural needs.
How to make a cage for a rat?
The guide to making a cage for a rat covers planning, assembling a PVC frame within a plastic bin, attaching hardware cloth, and adding enrichment features. It ensures a secure and interactive habitat for your pet.
Do rats prefer water bottles or bowls?
The discussion on water sources shows rats often enjoy water bottles for controlled drinking, while bowls might lead to splashing. Choose based on your rat’s behavior and what’s easier for you to maintain.
What do rats like in their cage?
The answer to what rats like in their cage reveals they enjoy soft bedding, plenty of climbing space, tunnels, and interactive toys. These elements boost exercise, mental stimulation, and overall comfort.
Do rats prefer houses or hammocks?
The insight into rat preferences shows that rats benefit from both houses for hiding and hammocks for lounging. A mix of enclosed spaces and elevated resting spots creates a balanced, enjoyable environment.